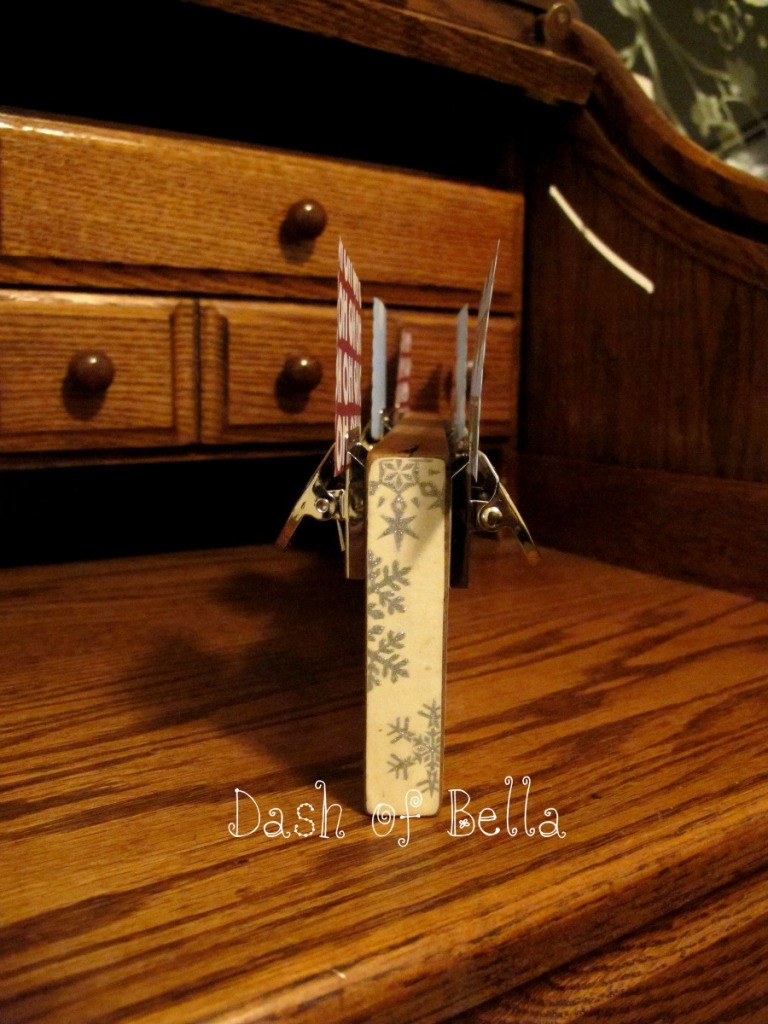
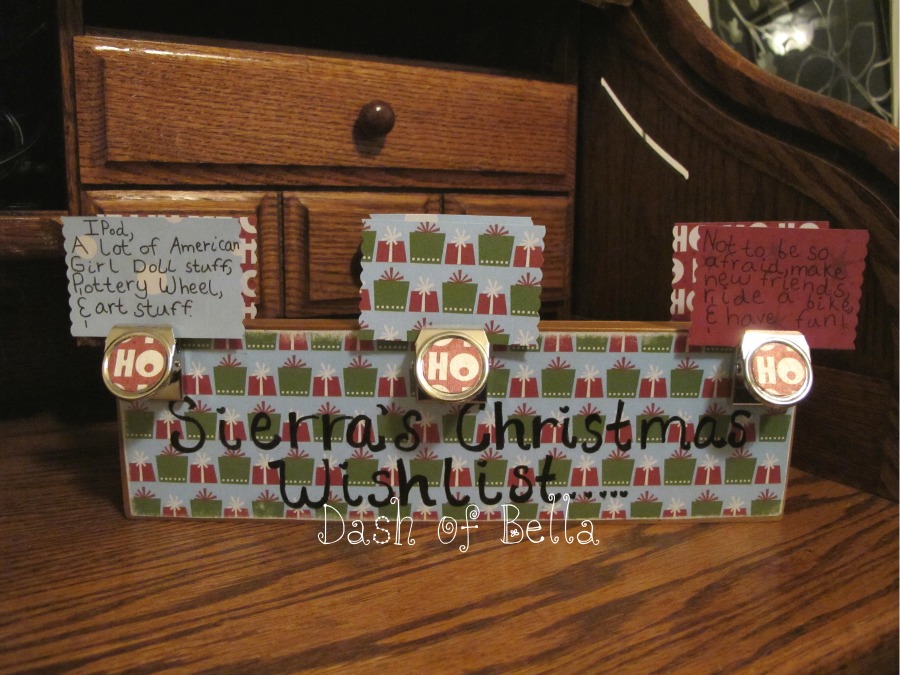
I made this super cute Christmas Wishes holder for Victoria last year. I love that its something we can use each and every year. I didn't take photos of the making process but I will try and give you a summery of how to make one if you would like. I have also done a Thankful one just like this but with different paper for Thanksgiving as well. :)
What you need:
A piece of wood cut to the size that you want and then sanded to take away rough edges. I rounded the edges ever so slightly on ours.
Holiday themed scrap booking paper
6 magnet clips that have a flat back that will allow you to glue them to the wood.
Mod Podge
E6000 Glue
Scissors
Brush to apply the mod podge
Clear coat sealer spray in a matte finish
Let's get started!!
Trace the flat sides of your wood onto the paper of your choice. Subtract about a quarter inch or so all the way around. This will make it so some of the wood shows. Cut out your paper for the flat side and then use mod podge to glue the paper down to one side. Go slow and smooth it down to keep the bubbles at bay. Let this dry all the way. About an hour or so depending on the temp in your house. I find that when its hot and humid it takes forever for mod podge to try in our home.
While this is drying you can do the magnets. I just cut circles out that were smaller than the circles in the magnet clips. Then I used mod podge to glue them down just like I did with the paper to the wood. Let these dry all the way. When they are dry go back with the mod podge and apply a thin top coat to seal the paper.
When you first side is dry for your wood you will do the other flat side the same way. Let this dry all the way again.
Next on the two short sides you will trace them on your paper of choice. I didn't trim the sides by a quarter inch for this because I wanted the whole thing to be covered. You will do one side, let it dry, and then do the other side. You do this so you don't accidentally put the wood down on a wet side and ruin your project. I have done that before and its a very frustrating way to mess up your project.
When all four sides that you applied paper to are done you can move on. This next step it totally optional.
I took a med. blend sandpaper and rounded the edges of the paper. I just rubbed it in short bursts until I got the rounded semi distressed look I was looking for. Totally optional, I just wanted to try it out and see what it looked like and I loved it after I did the first side. I did it on all four corners on all four pieces of scrapbook paper that I applied with the mod podge.
Next I wrote cute little sayings on the long flat sides with a permanent marker.
When the ink was dry and set, I took the whole thing outside and sprayed it with a clear coat sealer in a matte finish.
Finally I glued on the magnet clips with E6000 glue...any extra strength glue should do the trick.
Let this dry overnight ...in your garage because the glue smells horrid...at least I think so. lol
The next morning gather up your little ones and have them write some cute wishes, things they want from Santa, ect....
Its so cute to watch kids think about holiday wishes, and this could be the start of a new fun family tradition for you. It def. was for us :)
Photos are from last year's xmas...have yet to take photos of the cuteness Victoria came up with this year.
Last year she was trying hard to get over being afraid of the dark and spiders and since we moved she wanted to make some new friends in our new town. It was really sweet to see her be so raw and open with her xmas wishes. She was the same this year and I love that about her. She is not afraid to speak her mind and discuss her emotions. She is so much stronger than I was at her age! :)
Hoping dinner time rolls around quick....we have chili cooking and it smells AMAZING! :D
PS: You can also use the same concept to make little photo holders. There is a magnet clip on both sides and its done the same way as the Christmas wishes holder, just on a smaller scale. Makes great birthday gifts...mother's day gifts...ect. :)


No comments:
Post a Comment
Note: Only a member of this blog may post a comment.