This post and tutorial were inspired by a facebook convo late last night and I am really excited that my idea actually worked! :)
This tutorial is to make a basic leo for an American Girl Doll or similar in size 18 inch doll. Now, I am going to be totally honest with you here....I am no seamstress. My sewing skills are basic and would probably make most avid sewers gasp. lol Also my sewing machine has been all over the country and I think its on its last leg....it tends to jam more frequently since our last move so that does not help too much. lol But with that aside, this leo is super easy to make and its a project you can do with your little one as well. :)
What you will need:
A pair of old tights {I used a girls med. in pink, you can use any color. If you have a little ballerina in your house, I am sure you will have a pair of tights that you can use because of a run or a snag. ;)}
thread to match the tights
sewing machine and bobbin
fabric scissors
goodies to decorate with such as lace, ribbon, ect.
pencil
Cut the top part of the tights off where the text says. You will be left with three pieces. Grab the leg piece that looks the best {if you are using old tights you want a leg that is clean and does not have noticeable wear}. Set the other two pieces aside.
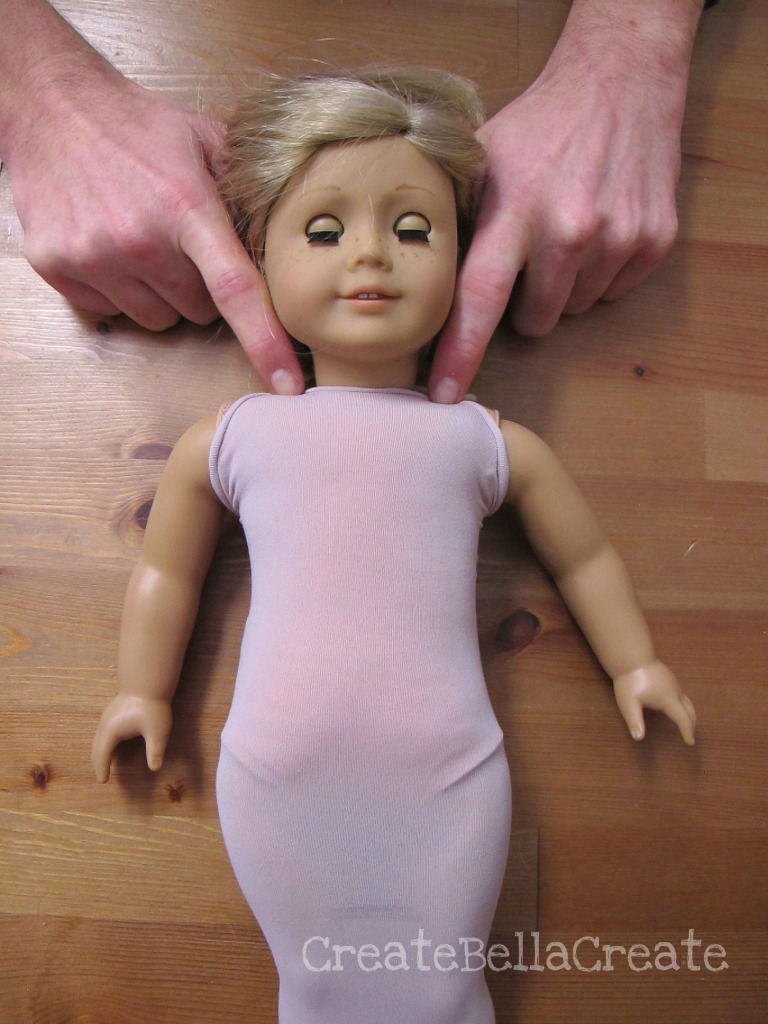
Pull the leg of the tights onto your doll. You want to pull it on with the toe part at the bottom and the widest part {the thigh area} at the top of the doll.
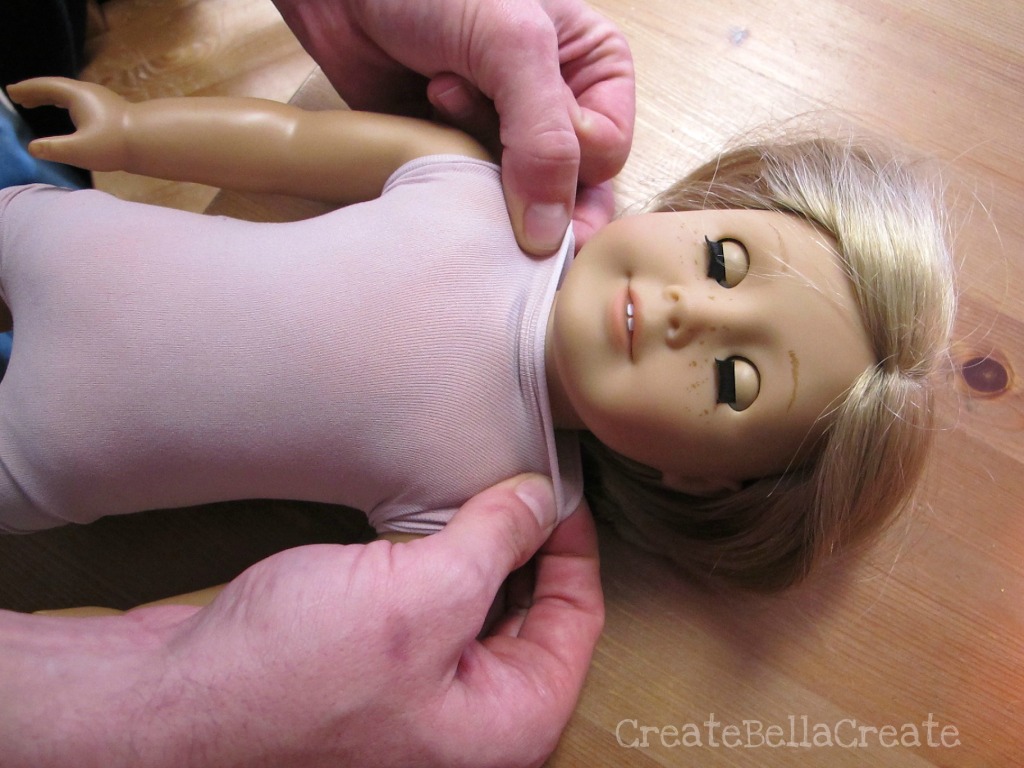
Make sure that the sides up top can touch when pulled up over the shoulders. Make a mark where my pencil mark is. Its right above the first Create in CreateBellaCreate.
Pull off the tights and cut where the pencil mark is.
Its going to look like this after you cut. Keep the widest part as the top part.
Next you want to mark off a section that is about an inch wide in the middle of the bottom of the piece. I just eyeballed it. :)
Sew where you marked off leaving a quarter inch hem.
Turn the piece right side out {so the hem is on the inside now} and try it on your doll to make sure its a good fit and easy to get off and on. You don't want the little one who is playing with this to have to struggle getting this off and on. ;)
Make sure the top sides can still meet when pulled up over the shoulders.
Take the leo off and turn it inside out again so that the seem is showing.
Lay flat.
Mark 1.5 inches from one side along the top.
Mark 1 inch from the 1.5 inch mark that you just did.
Sew from mark to mark with a quarter inch hem.
You have now created the arm hole.
The first one I did, I did two arm holes and really didn't like the way it looked and the ease of use was not what I wanted.
Thinking about the cool leos I see at the ballet studio {and what I could actually pull off with my sewing skills lol} I decided on doing a diagonal cut with only one arm hole.
I just cut a diagonal line up top leaving a quarter inch from the cut to the top seam making the one shoulder strap.
I didn't hem the cut edges yet....not sure if I want to just do a basic hem or if I should use a serger on it. Going to call one of my sewing buddies {who actually has some mad sewing skills :) } and see what she recommends.
I did what I set out to achieve though, I created a basic leo for an American Girl Doll in under 20 mins using a pair of tights that would have prob. ended up in the trash. I love eco friendly crafts!
I wanted to spruce it up....but Victoria wanted to keep it basic so it would go with all the different tutus she has for her dolls.
If you are a sewer you could prob. glam this up with ruffles, ribbons, or trim but sadly I am not a very equipped sewer so I just stick with the basics. Skirts, blankets, curtains, and basic stuff like that are my fav. to do :)
What matters most to me is that Victoria is over the moon happy with this leo. The fact that it was quick and easy and no cost are just added bonuses for me. :)
If you make one, I would love to see a photo of it! I am hoping this basic leo will inspire something awesome to be made the eco friendly way :)


No comments:
Post a Comment
Note: Only a member of this blog may post a comment.