For some time now I have been in love with all things vintage....lace, clothing, dishes, styles, art, ....the list goes on and on. I especially love teacups and teapots. Going to vintage and thrift shops and looking at all the beautiful pieces just puts a big smile on my face. :D Thankfully my husband and daughter enjoy vintage stuff and the quests to find awesome pieces when thrift shopping as well. We have spent some fun afternoons sifting through old things to find the hidden treasures. I am working on building up my collection of teacups and teapots slowly but surely. I love that I am building it with my daughter and husband ...each piece now has a memory of how and where I got it attached to it.
For holiday and birthday gifts this year I am working on making teacup pincushions for the sewers in my life. I just love the concept of taking something old and beautiful and turning it into something new and fabulous. :)
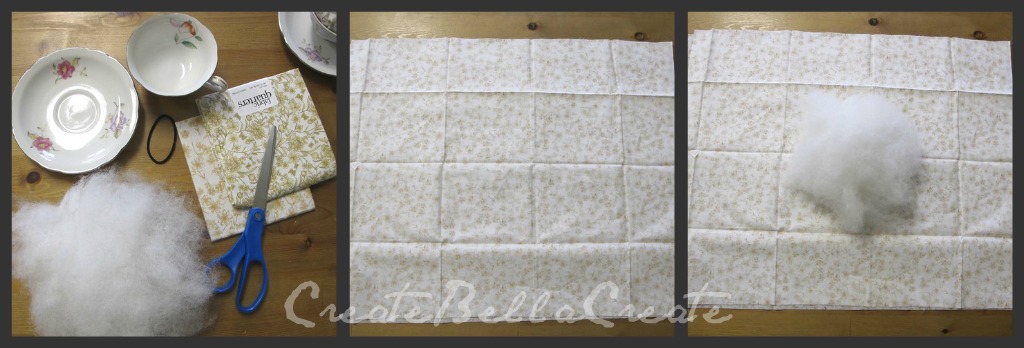
For this project you will need:
A teacup and saucer {you don't have to have a saucer, I think it looks cool and is handy for holding buttons and thread}
2 Fat Quarter Sqaures
Stuffing
A ponytail holder {with no metal}
Scissors
Hot glue and glue gun
I got my teacups and saucers from a local thrift store.
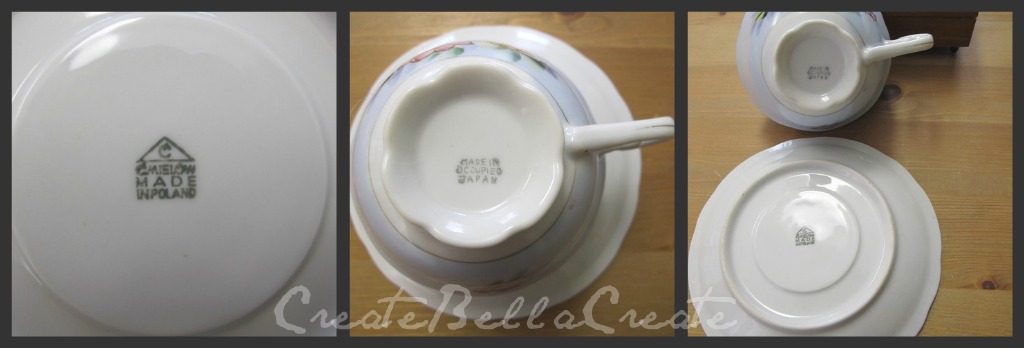
The pieces I found were not only beautiful but had some cool history about them. The saucers are from a Polish company and the teacups were both stamped with "Made in occupied Japan" on them.
I love the elegant feel of the flowers on the saucer.
For me, they paired nicely with the hand painted flowers on the teacups. I don't care too much for matching things. To me having all different colors and patterns blending together is much more fun to look at.
You will take your fat quarter squares and lay them out flat on your table. No need for ironing them. :)
I like to use two pieces, it just makes it look better in my opinion and its also more durable for when you are sticking pins and needles in and out. My tip for this: bring your teacups to the store when picking out your fabric. That way you can hold the fabric up to the teacups to make sure you have a good match for what you are trying to achieve.
Lay your stuffing down in the middle of your two fat quarters {that should be evenly placed, one on top of the other with right sides facing down.}
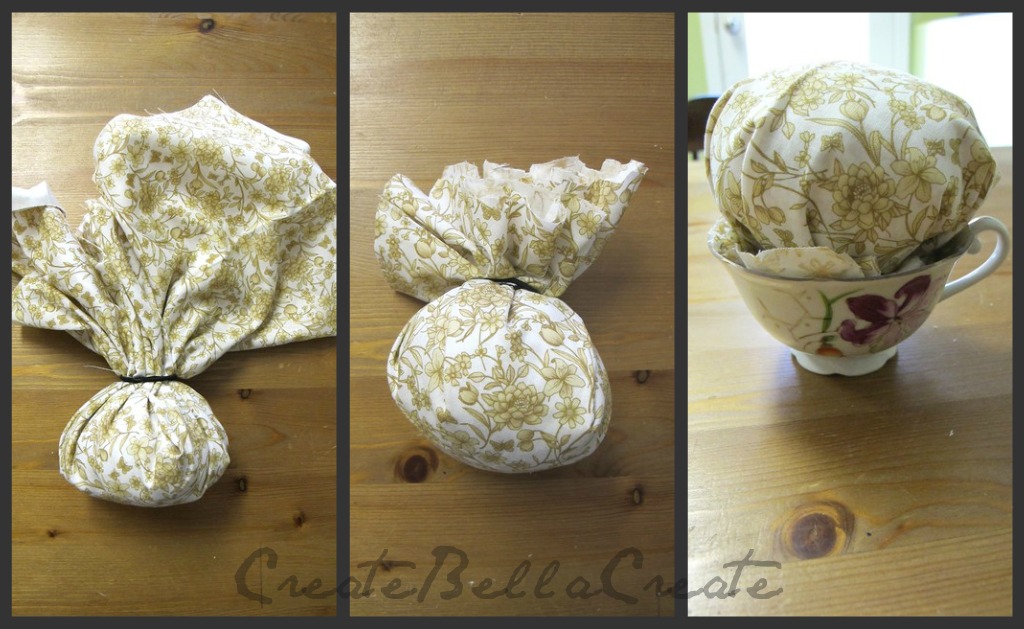
Ball up your fabric around your stuffing and put your pony tail holder on by wrapping it around twice. Doing this lose, you will be able to stick in more stuffing if need be. Trim down your fabric so it looks more like the middle photo. Don't throw that away! You can use the strips for bows or decorating or use the larger corner areas for little ones to practice their sewing skills on. My daughter loves to take sewing scraps and sew them into balls, stuff them, sew them closed and use them as toys for out cats. :)
Place your fabric ball into the teacup to see if you have the right size and fit for your cup. You may need to add a little or take some out.
Once you have the right size you will wrap your pony tail around as tight as you can. To make your fabric ball into a smooth ball you will need to do some slow and careful tugging of the fabric that is coming out of the pony tail. This will pull the fabric ball into a nice tight and smooth round ball. You may need to do some extra trimming of the ends if you end up pulling down more. You only want about two inches or so hanging out your ponytail end.
To make sure you don't have too much hanging out you will fold your fabric up like in the photo above and place it into your teacup. If you can't see the edge of your fabric poking out the sides than you are good.
Put hot glue in the bottom of the teacup and also up the sides to about halfway or 3/4 of the way. Hold your fabric ball like shown in the above photo and place it into your teacup. Gently push down on your fabric ball to ensure that it is going to attach to the teacup with the glue for about 60 seconds or so. Be careful! You don't want to push too hard that you break your beautiful creation!
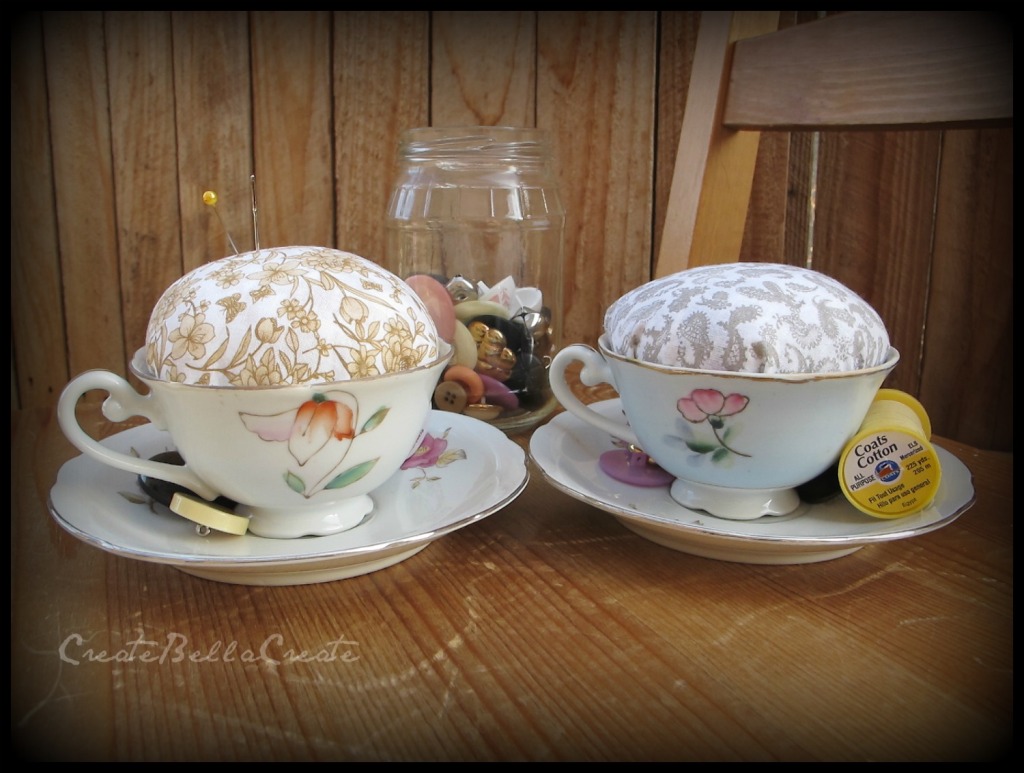
And that's it! You are finished, its a quick and easy project. :) You could also put a doily down first with it coming out the sides and then more hot glue and then your fabric ball. I am making one like this later on this week. That way is more my cup of tea ;) Or you could tie some ribbon around it or embellish it another way to suit your personality.
I love how cute these are and how many different ways you can customize them if you are giving them as gifts. I am still toying with embellishment ideas...still have not nailed down exactly how I want to do them yet. I can't wait to give them as birthday and holiday gifts this year. I have a few more to make and each one is just as fun to do as the last.
Keep in mind, they don't have to be "perfect" sometimes things that are imperfect are perfectly beautiful :)


No comments:
Post a Comment
Note: Only a member of this blog may post a comment.