I hope everyone had a wonderful holiday! I was on an internet hiatus because our internet was not working right....still having some issues with the connection coming in and out but it is working right now...slowly but working all the same. Hoping it lasts so I can finish up this post :)
I love cowls, I think they are beautiful looking, warm, and best of all they stay on you and don't fall off like a scarf sometimes can. I found a pattern on ravelry for a cowl with a hood and I loved it and thought that I would give it a try. The pattern can be viewed here:
I made the first one as the pattern stated and I really liked it but thought it was too big for my liking. By big I mean, it was really wide and would slide off my head. It looked cute but on windy days it was not really practical unless you wanted to hold onto it.
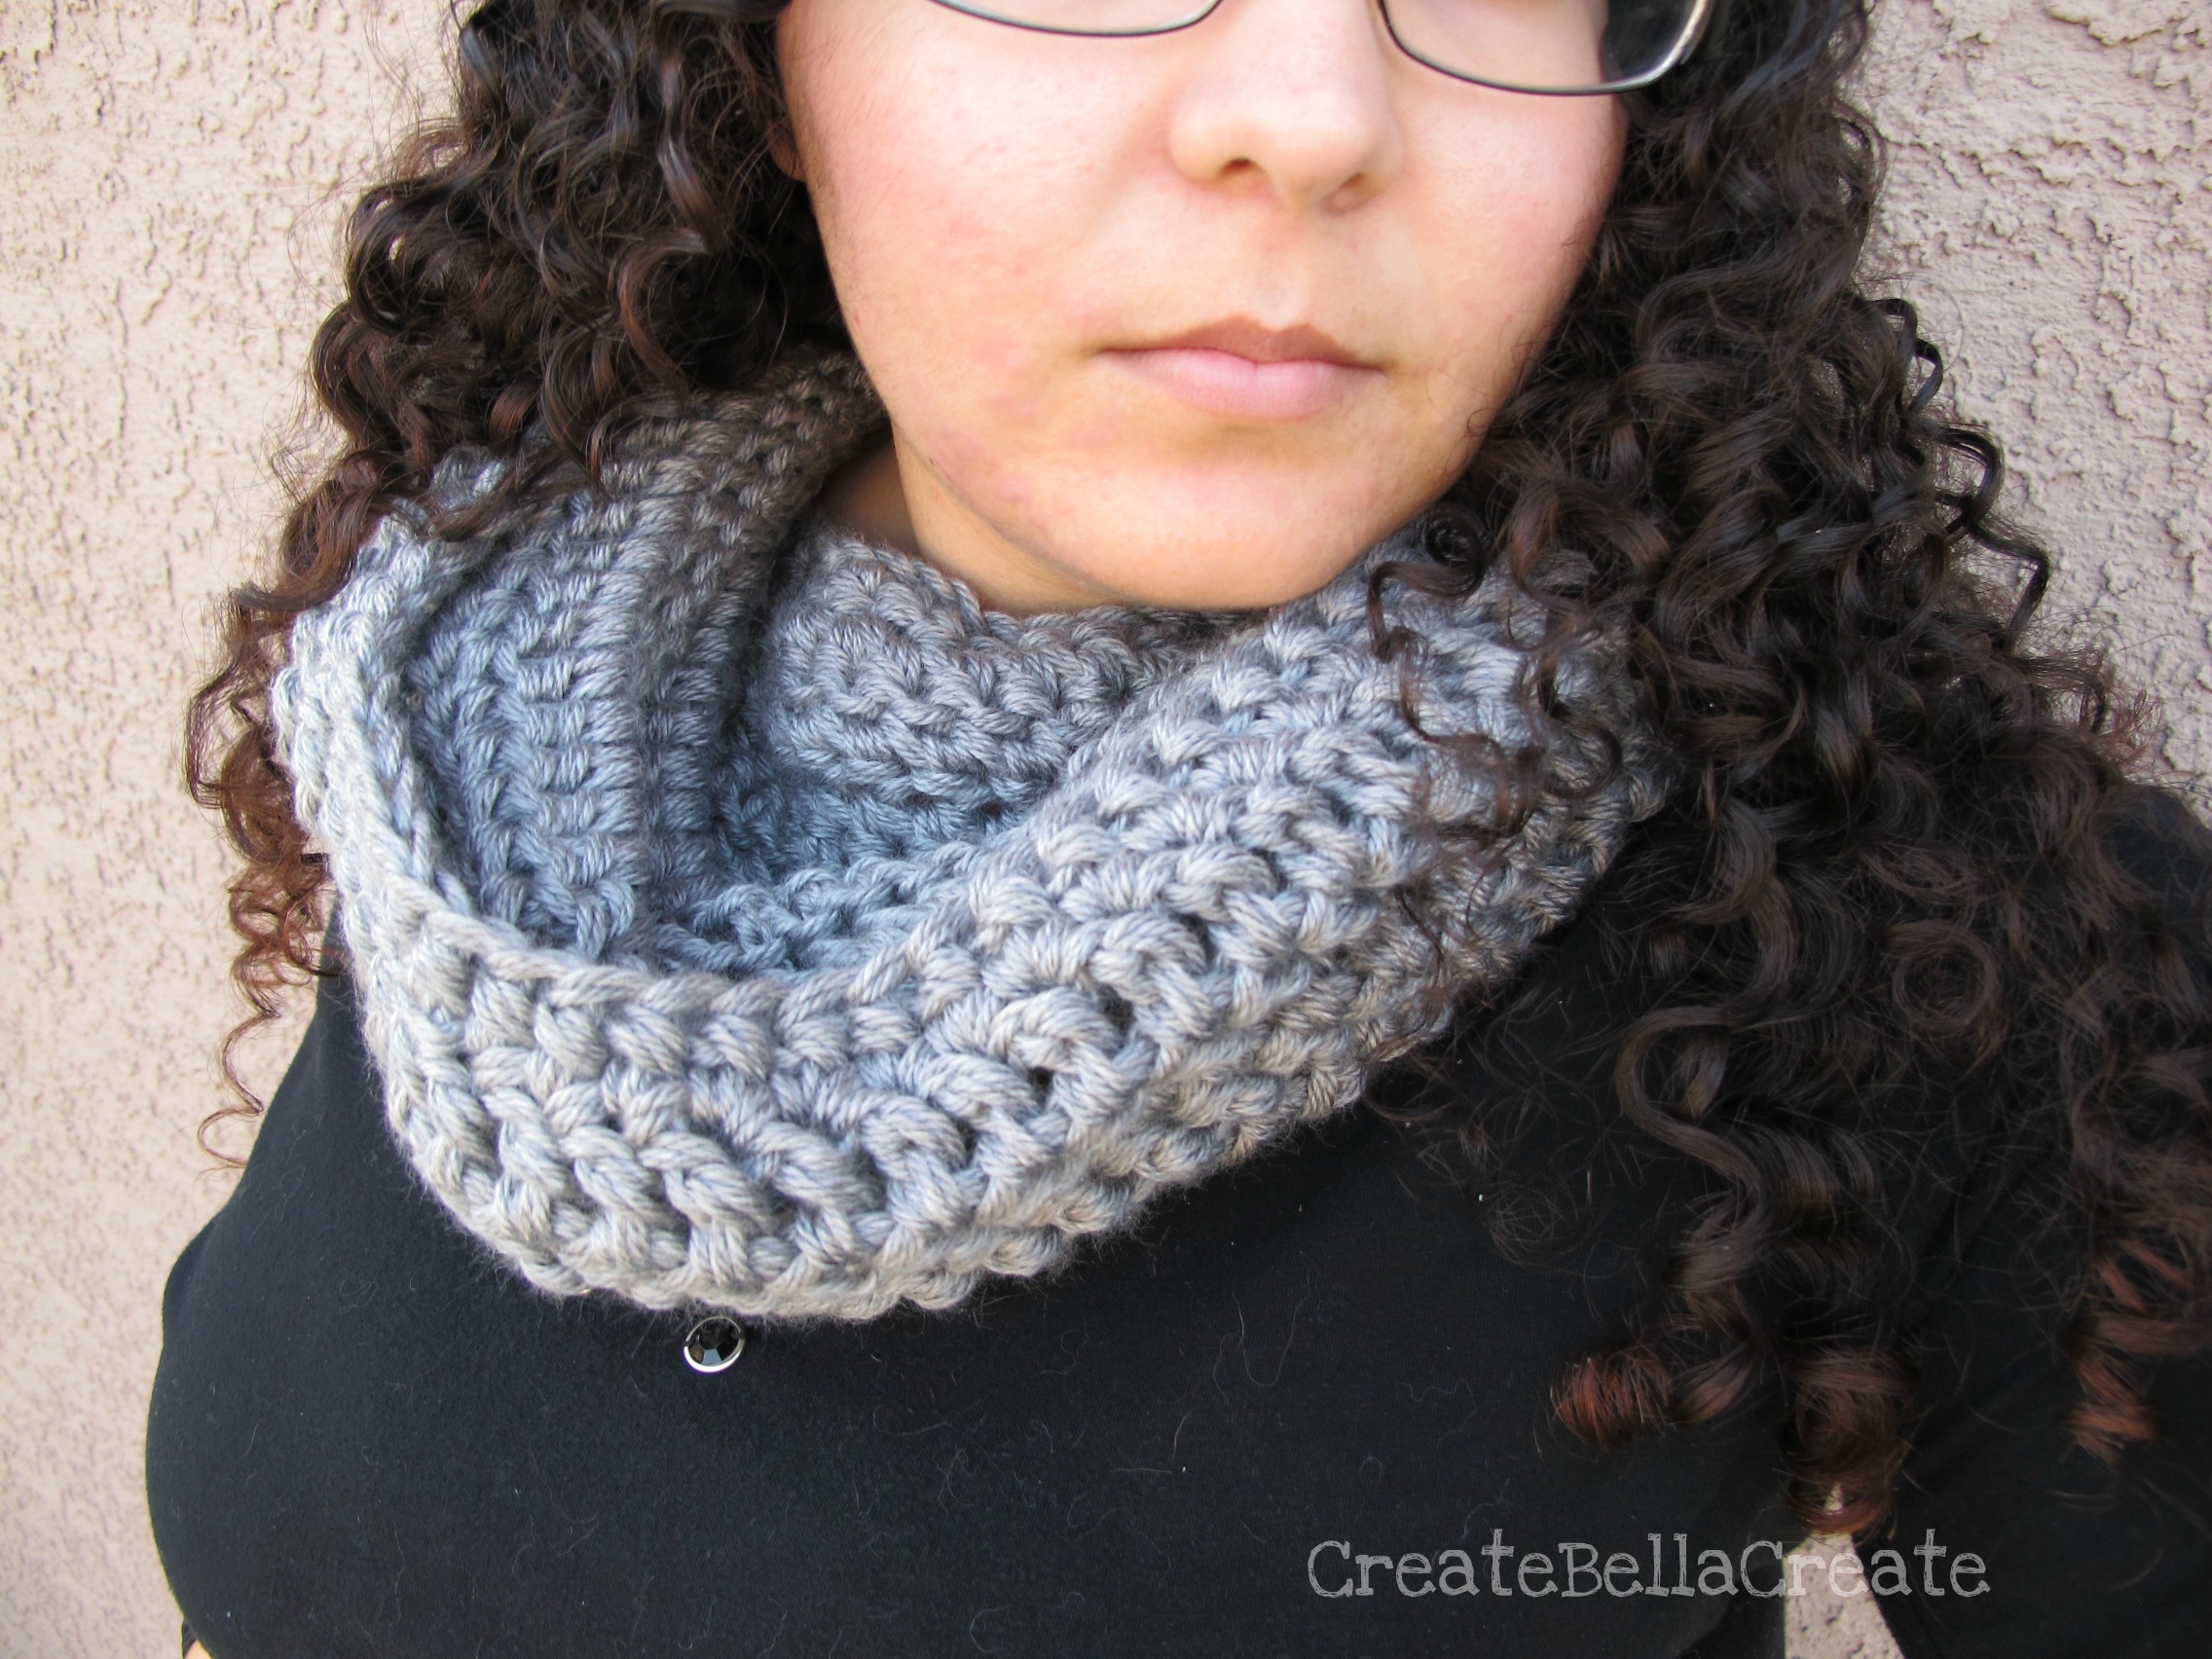
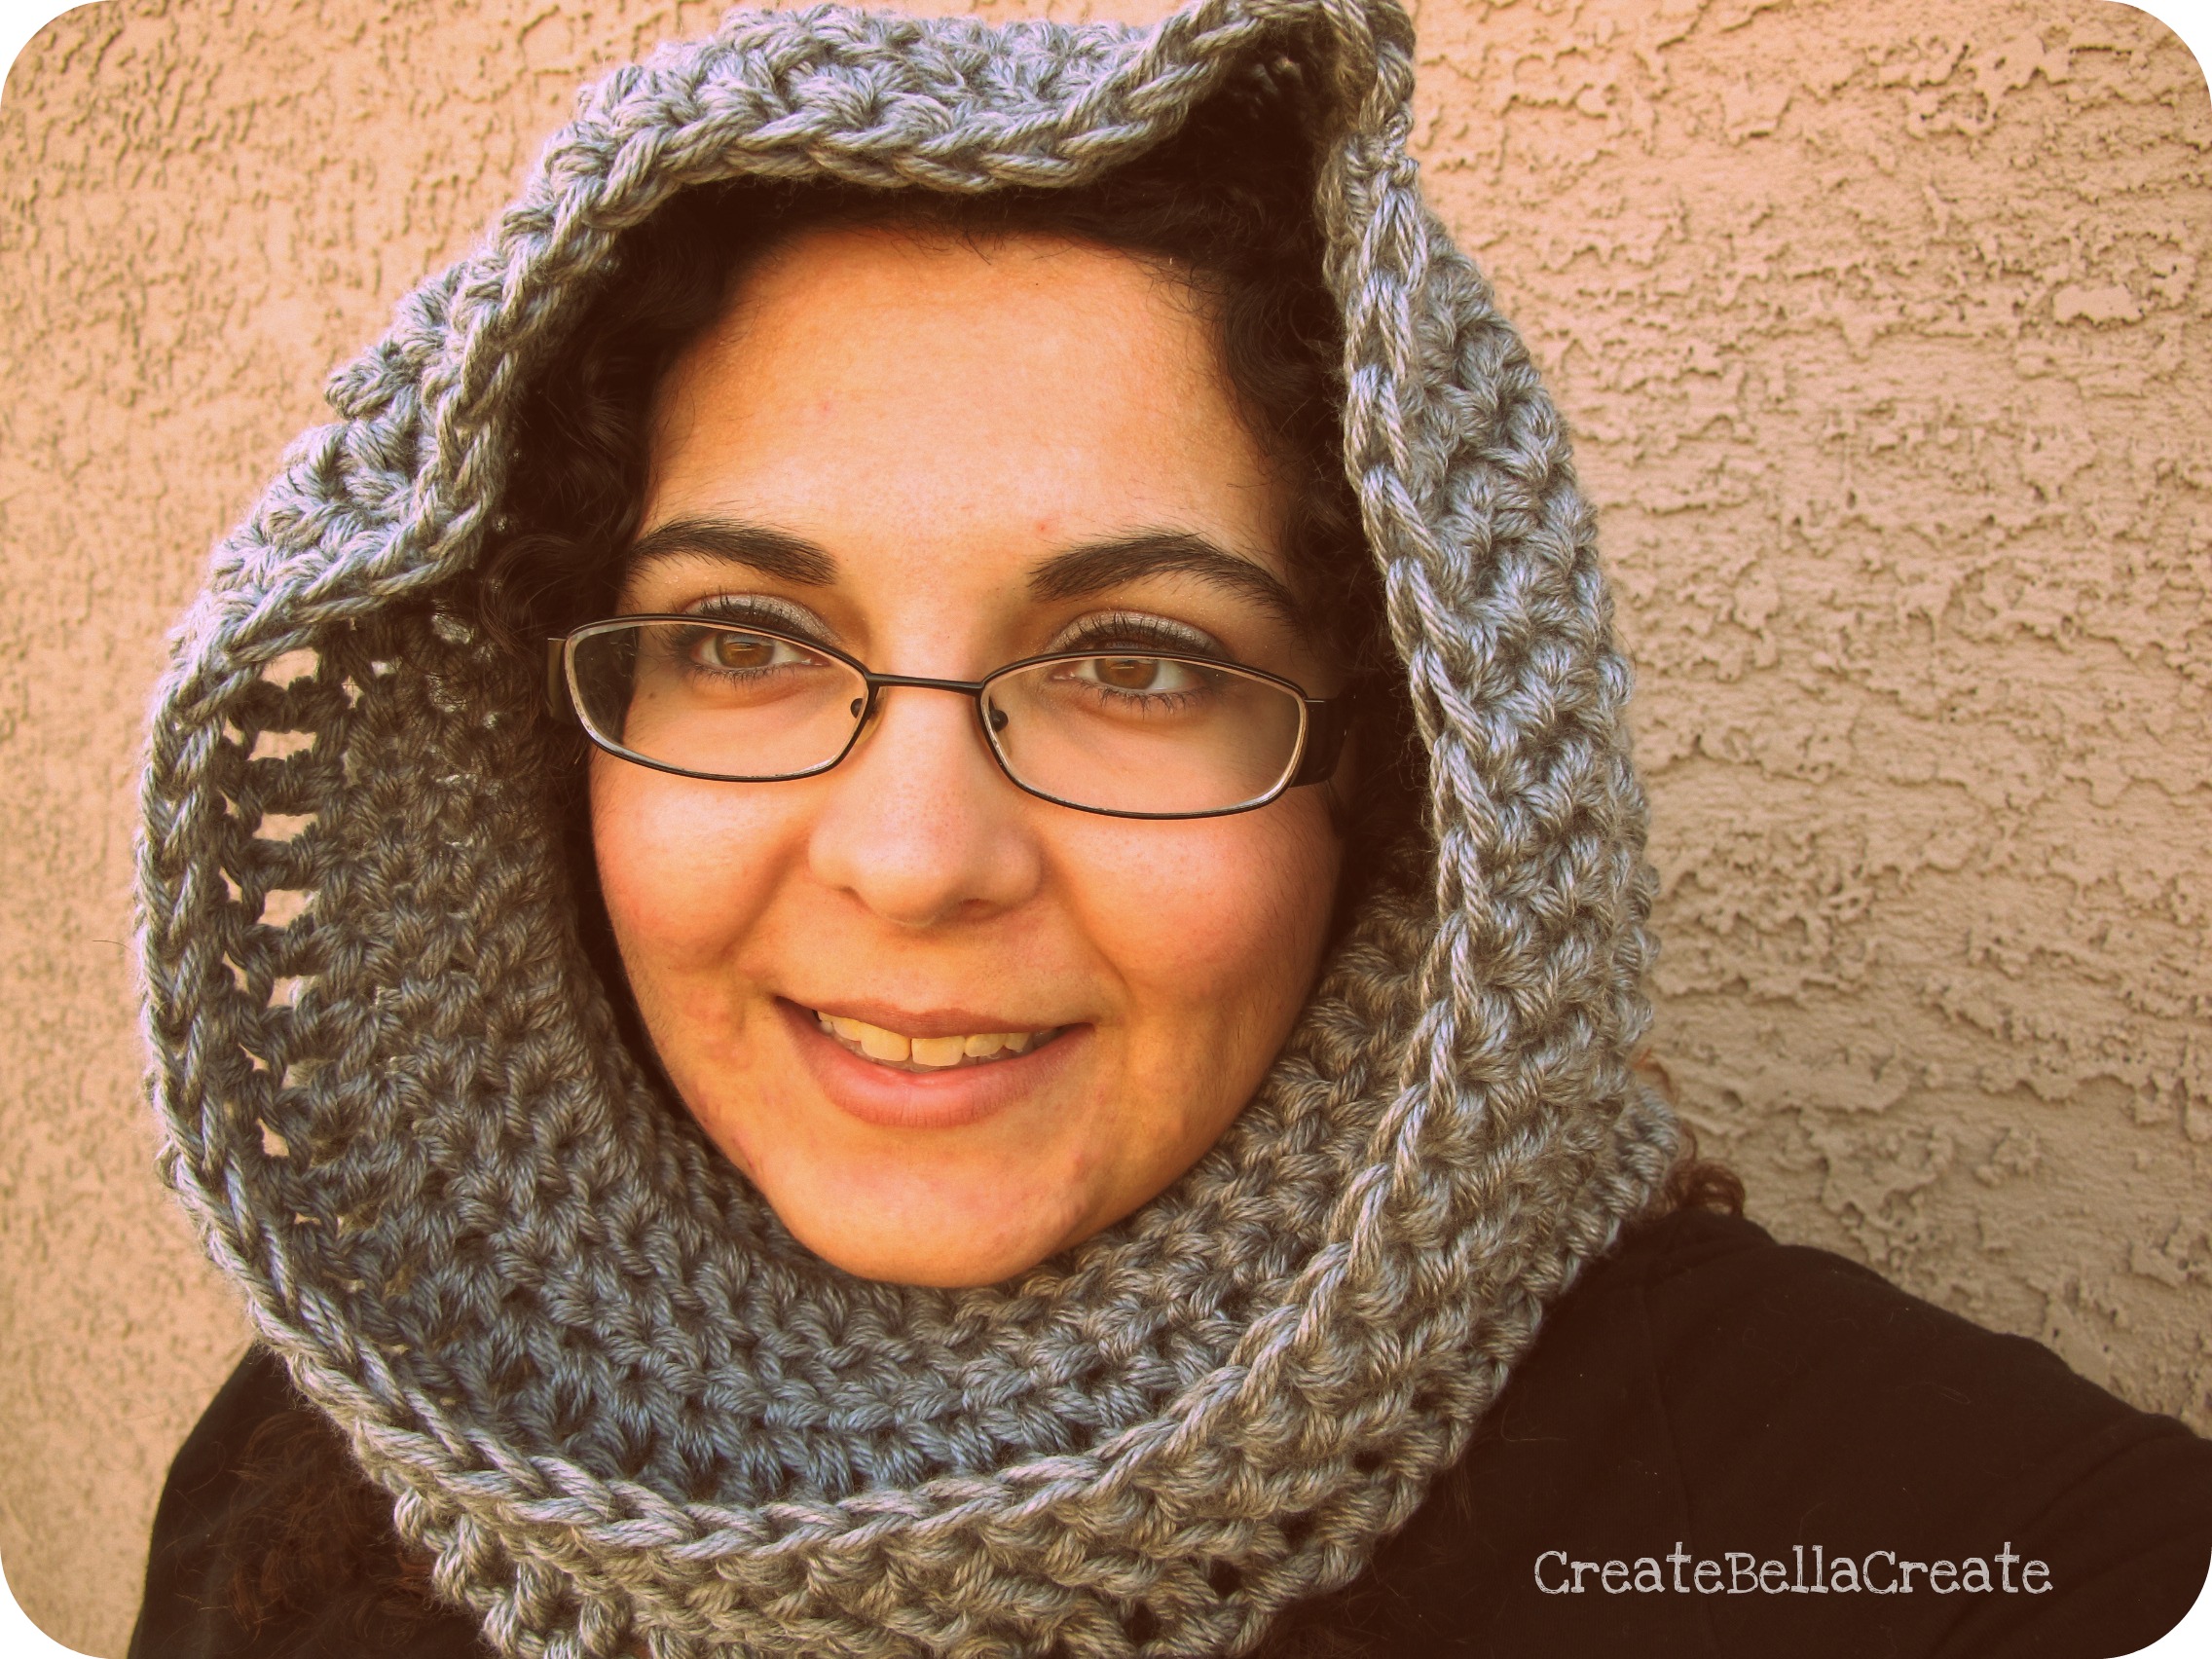
So for the second version I made some modifications and I got this result:
This one stayed on my head better than the first one and was easier to work with meaning, the stitches were tighter so it would hold its shape better than the first one...that one was a little more ummmm floppy I guess would be the best word for it. Beautiful, but floppy :)
I made a third slightly different than the second but that was a gift and I forgot to take photos before I gave it away. I am going to give you the patterns for the way I did the two that are my favorites that I've made so that you can make either one with ease :)
Bella's Versions of The Crimson Owl's Convertible Cowl
You may sell things made from my personal patterns BUT DO NOT sell my patterns as your own work. If you sell something made from one of my patterns please credit me for the pattern, Thanks in advance!! :)
What you need:
10.00 mm hook
2 balls of your favorite yarn {I used Simply Soft by Caron}
Yarn needle to weave in ends
Stitch marker
Stitches Used {US Crochet Terms}
Single Crochet {sc}
Half Double Crochet {hdc}
Double Crochet {dc}
Chain {ch}
Before you start you have to figure something out.
Do you want your cowl to look like the second version I showed or do you want it to look like something in the middle of the two versions?
The middle version is not as floppy as the first and not as form fitting as the second. Its a nice in between. :)
If you are doing the middle version, every time I have a half double crochet listed you will be doing a double crochet. If there is a double crochet listed you just do the double crochet as listed. Do the single crochets as listed as well. Any other instructions will be in the pattern as needed.
Using two strands of yarn held together
Ch 55 and join with a slip stitch into a circle. Be careful not to twist your chain! :)
Row 1: ch 2 and double crochet around
~~~Here is one big difference in the way I did my cowl. I didn't join the rounds....I just keep going around . This gives you a seamless piece. Use a stitch marker to keep track of your rounds. ~~~
Rows 2 - 8: dc around using your stitch marker to keep track of your rounds.
Row 9: sc around
Rows 10 - 17: hdc around using your stitch marker to keep track of your rounds
{if you are doing the middle version of the cowl remember that you will be doing dc instead of hdc for these rows}
Extra row: If you are doing the hdc version then do an extra row of hdc around after completing row 17. If you are doing the dc version skip this row and move onto row 18 :)
Row 18: sc around
Rows 19 - 24: hdc around using your stitch marker to keep track of your rounds.
{if you are doing the middle version of the cowl remember that you will be doing dc instead of hdc for these rows}
Finishing Row: sc around in the outside loops only, this gives it a nice finished look.
Weave in your ends and you are finished! :)
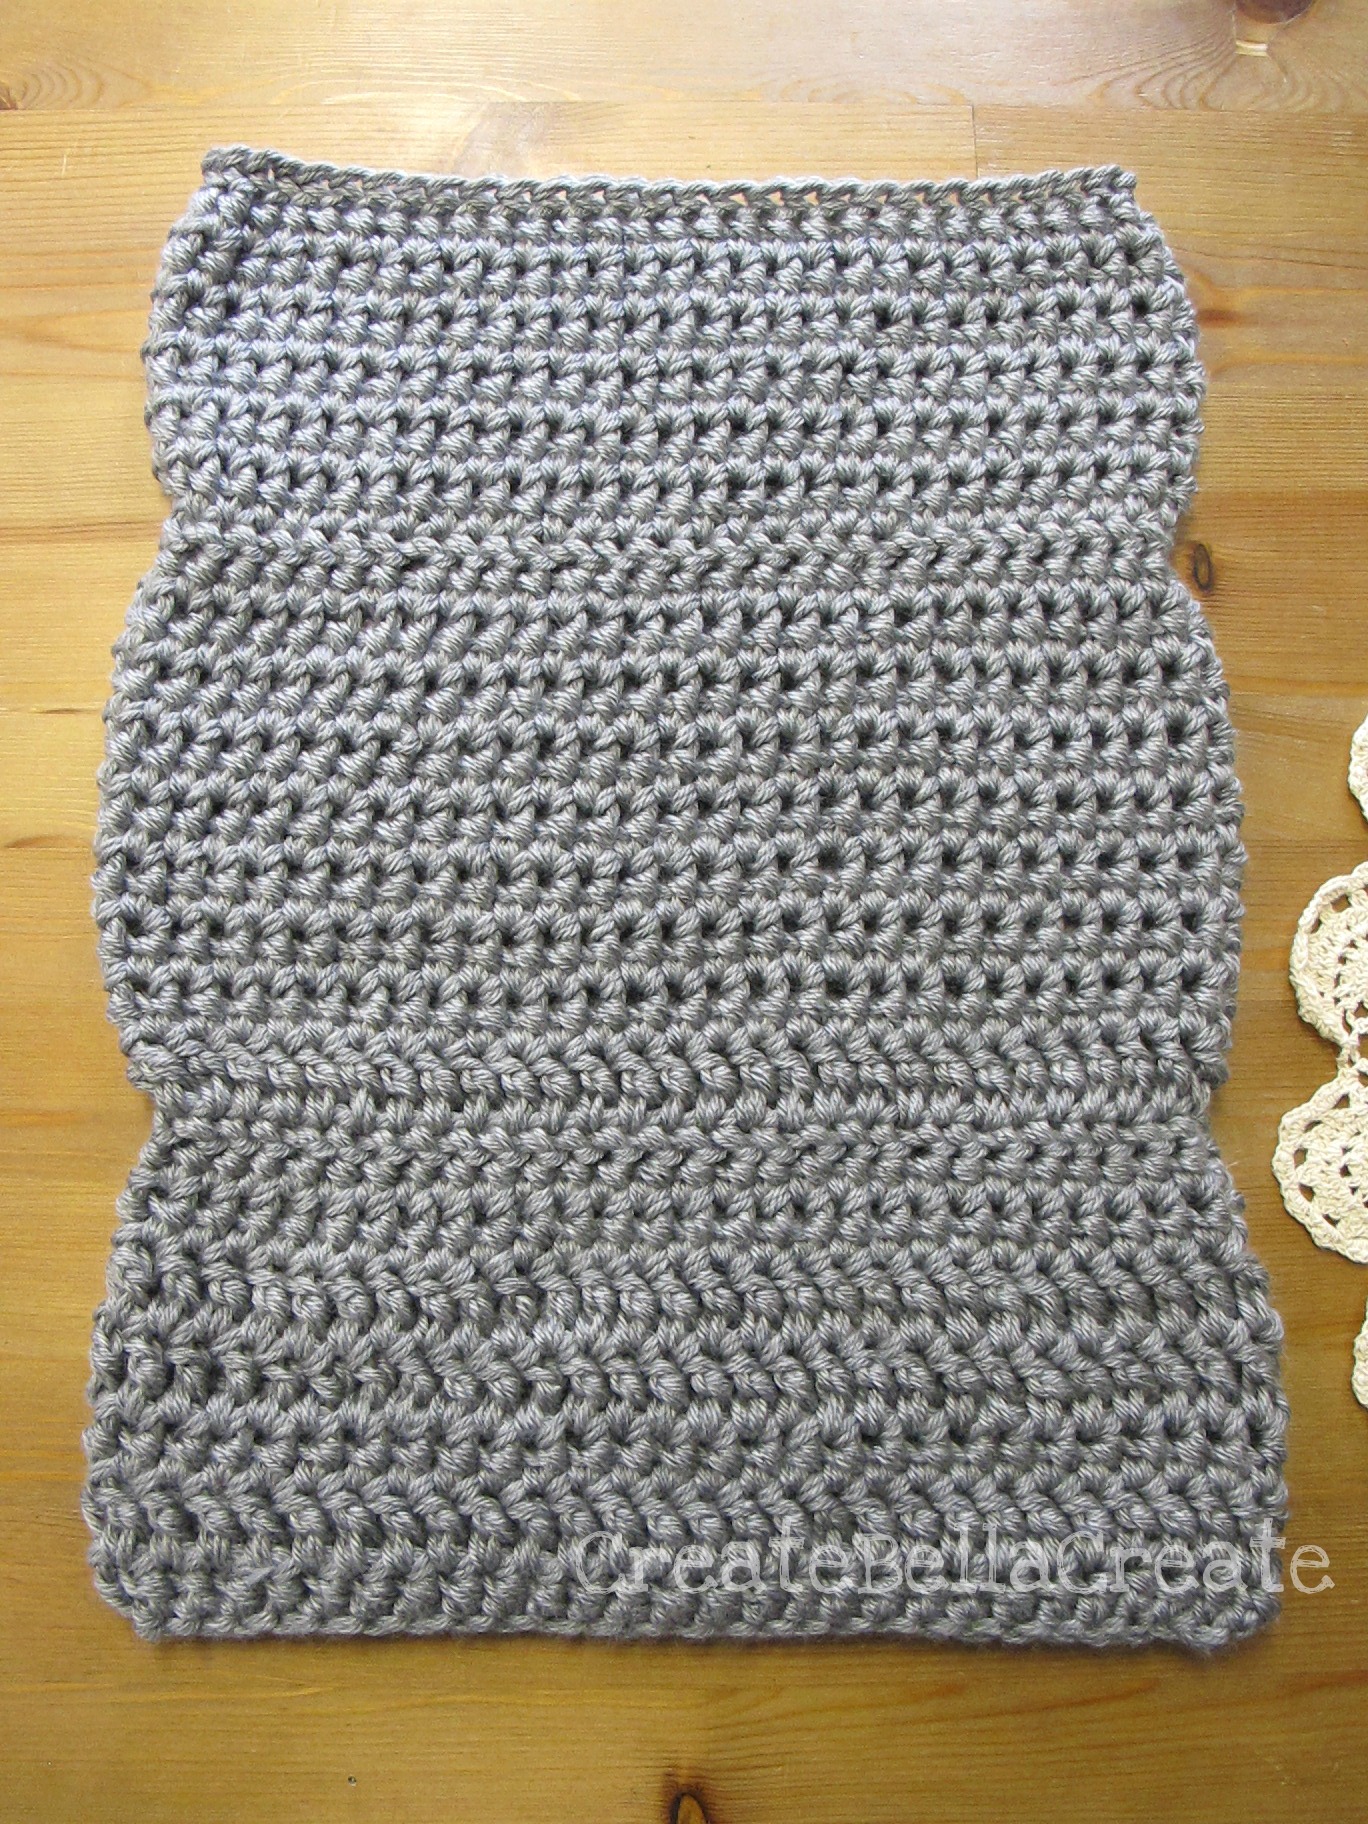
It looks like this when you are finished:
In this photo the bottom is mostly dc, this was my piece I was working with the modifications for the cowl. As you can see there are no seams, I just wanted to show you that it does go in a bit at the two rows you do the single crochets so you would know what to look for. It gives it a nice layers look when you wear it as a cowl. :)
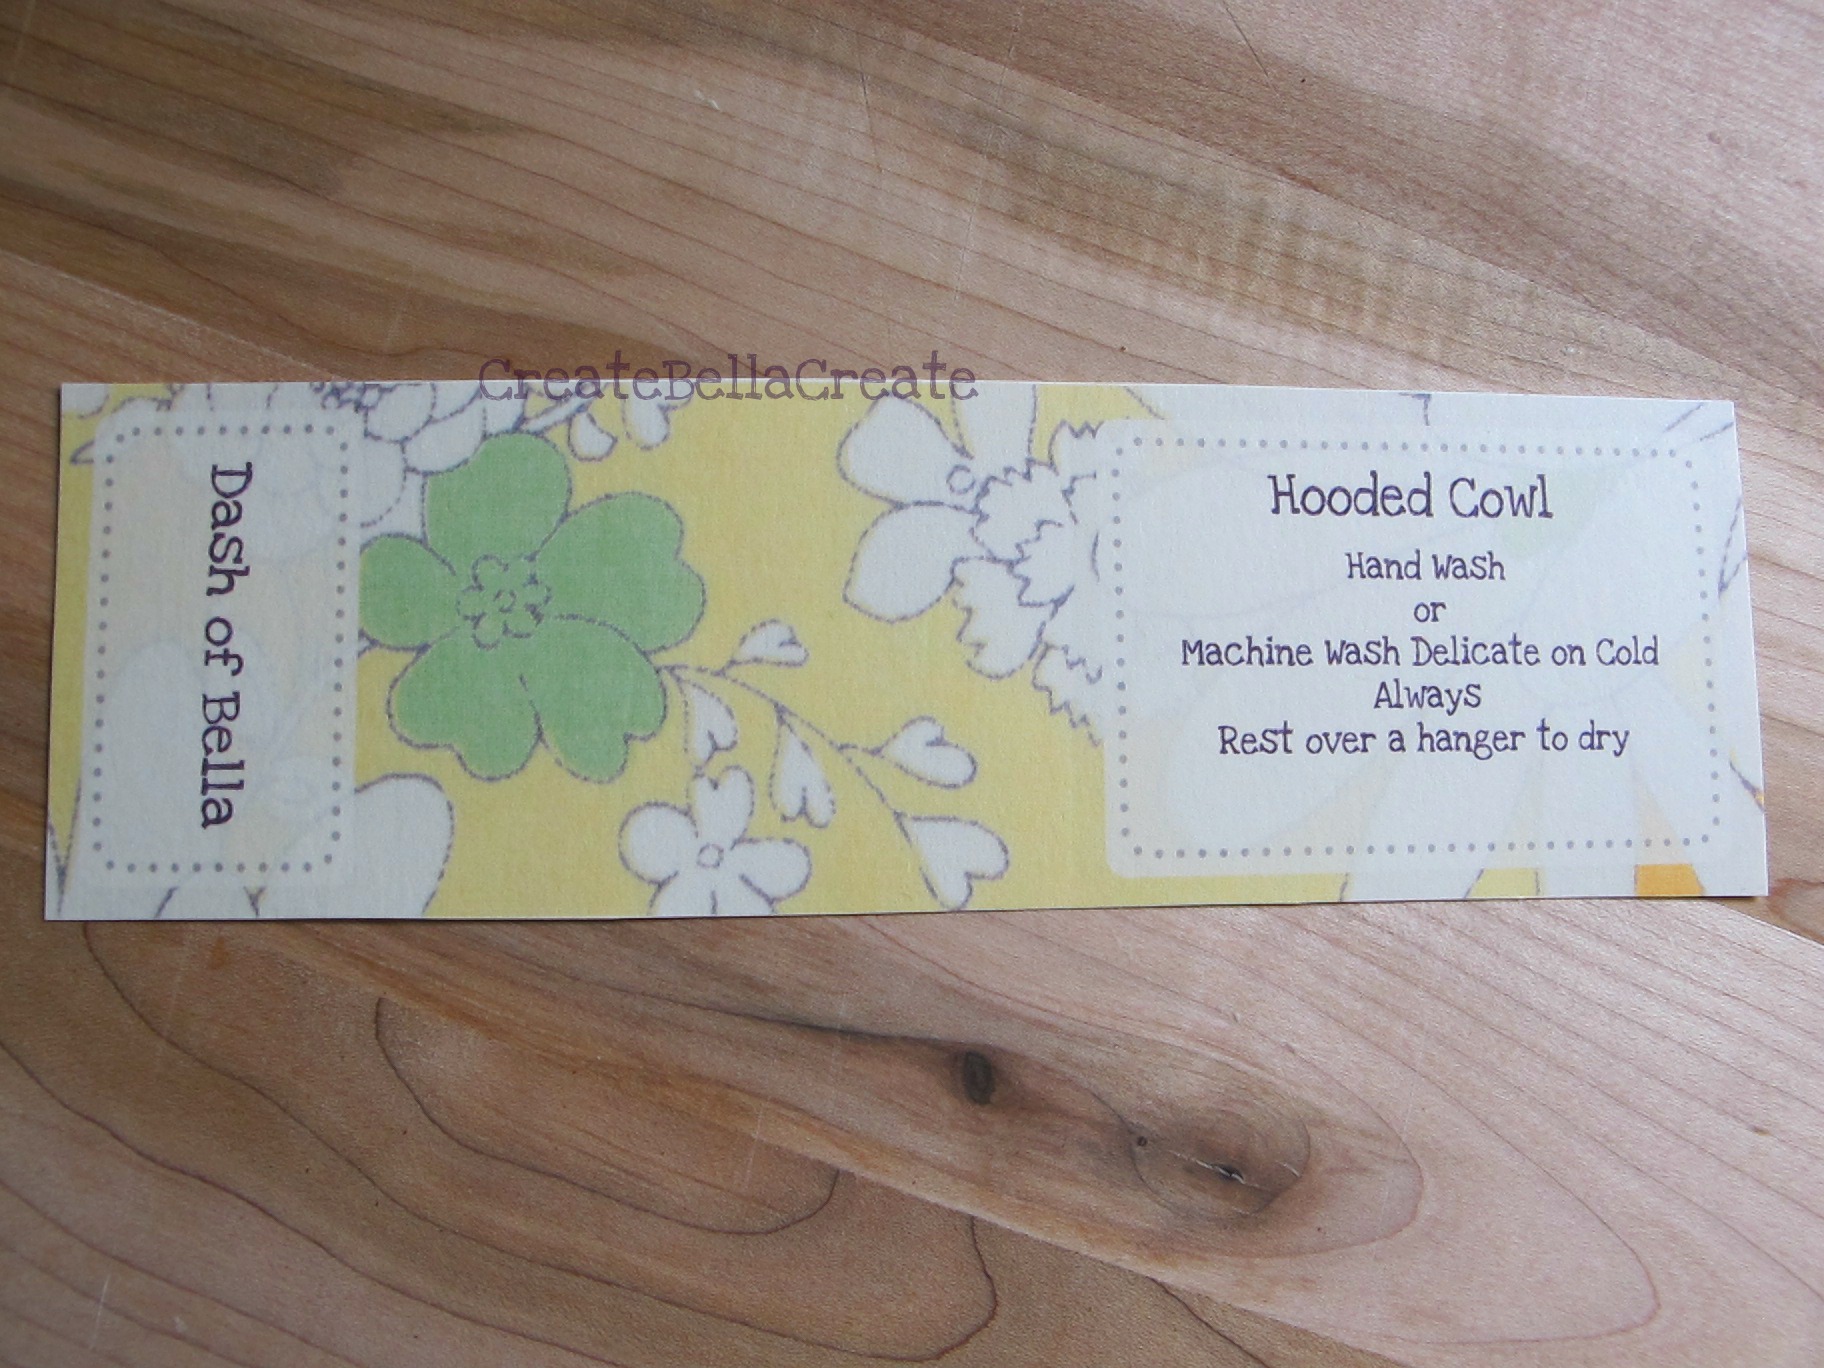
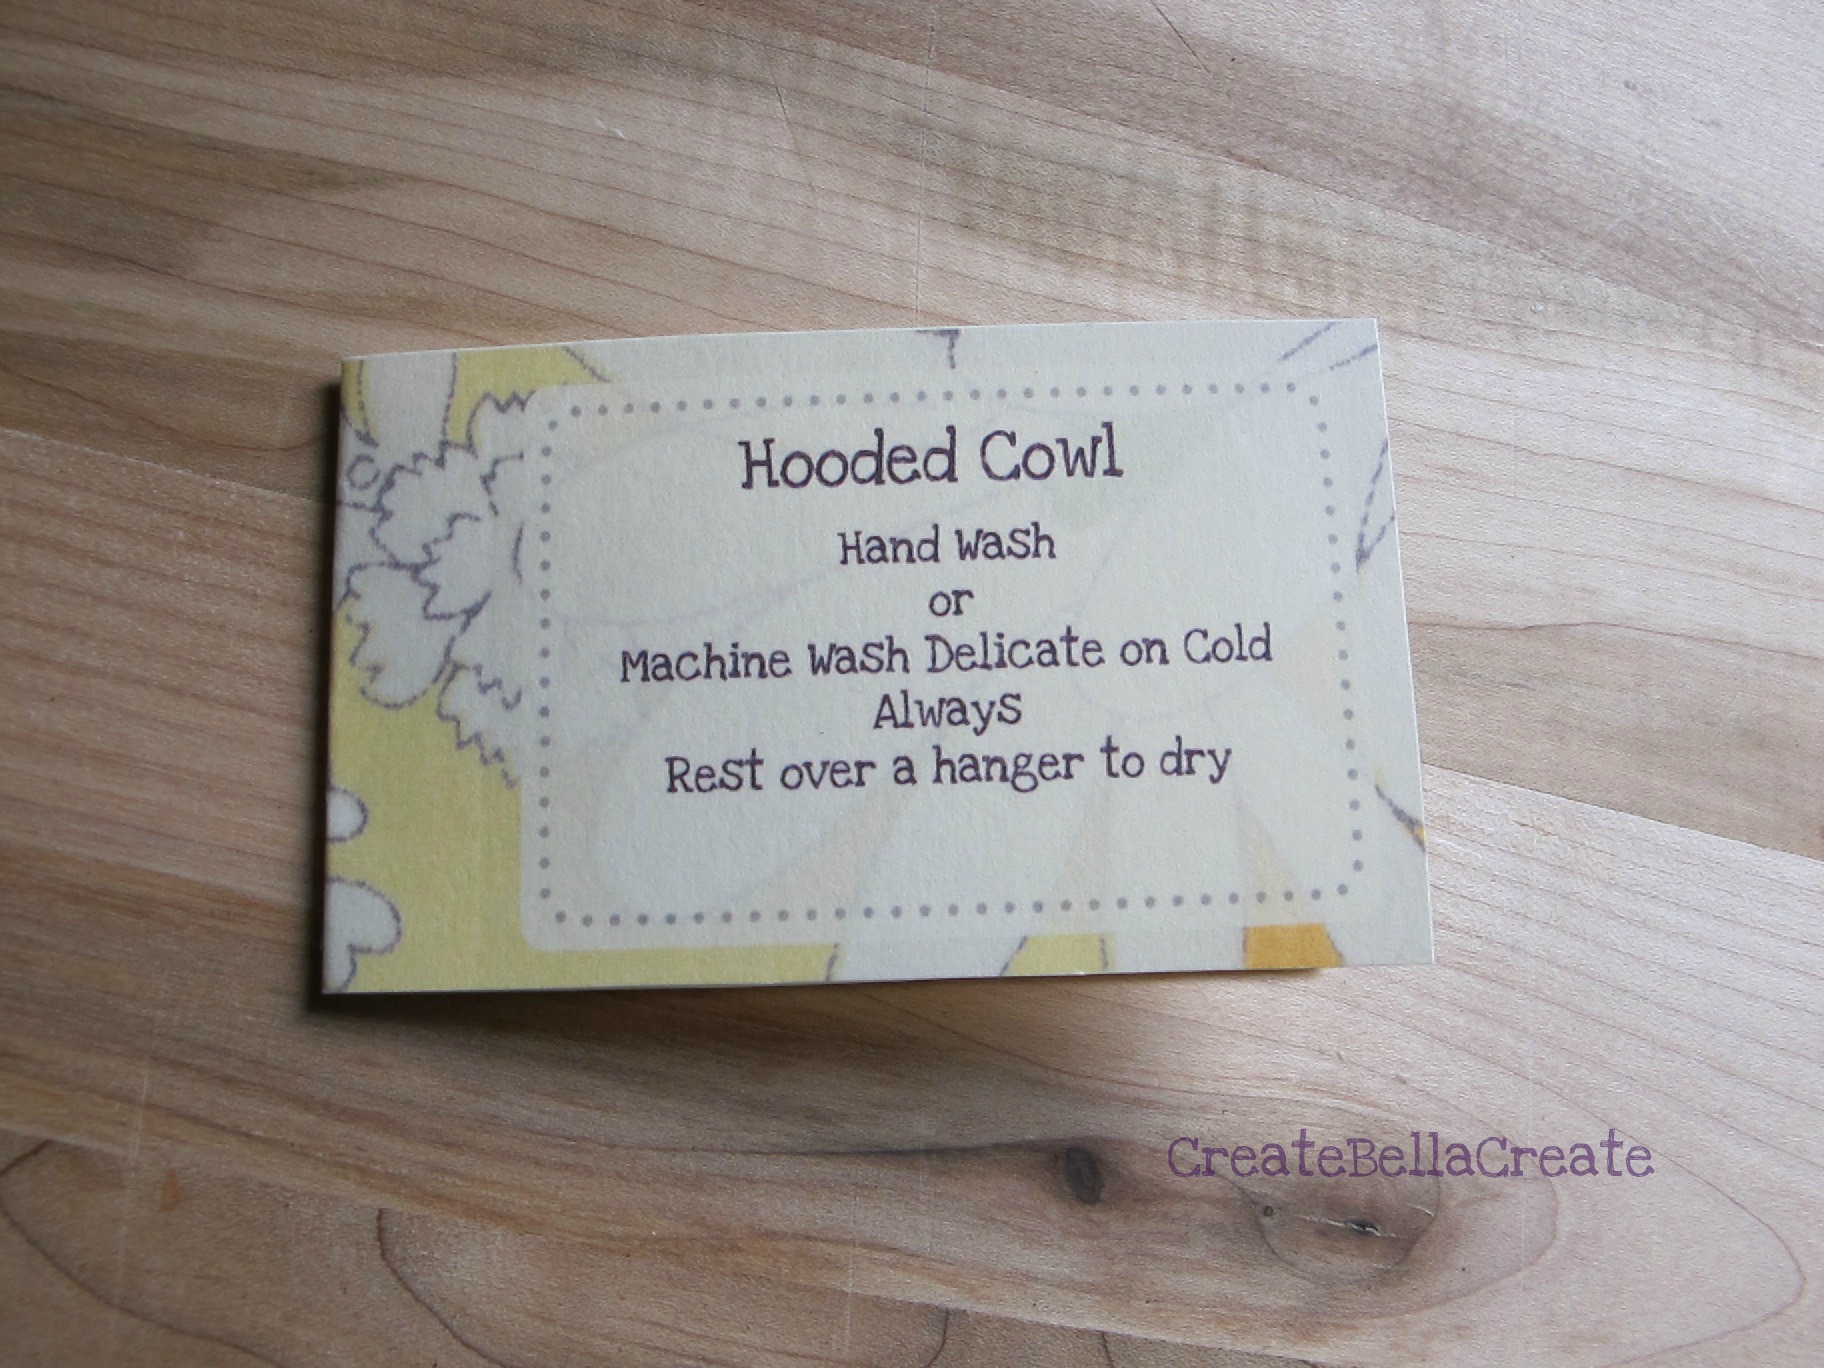
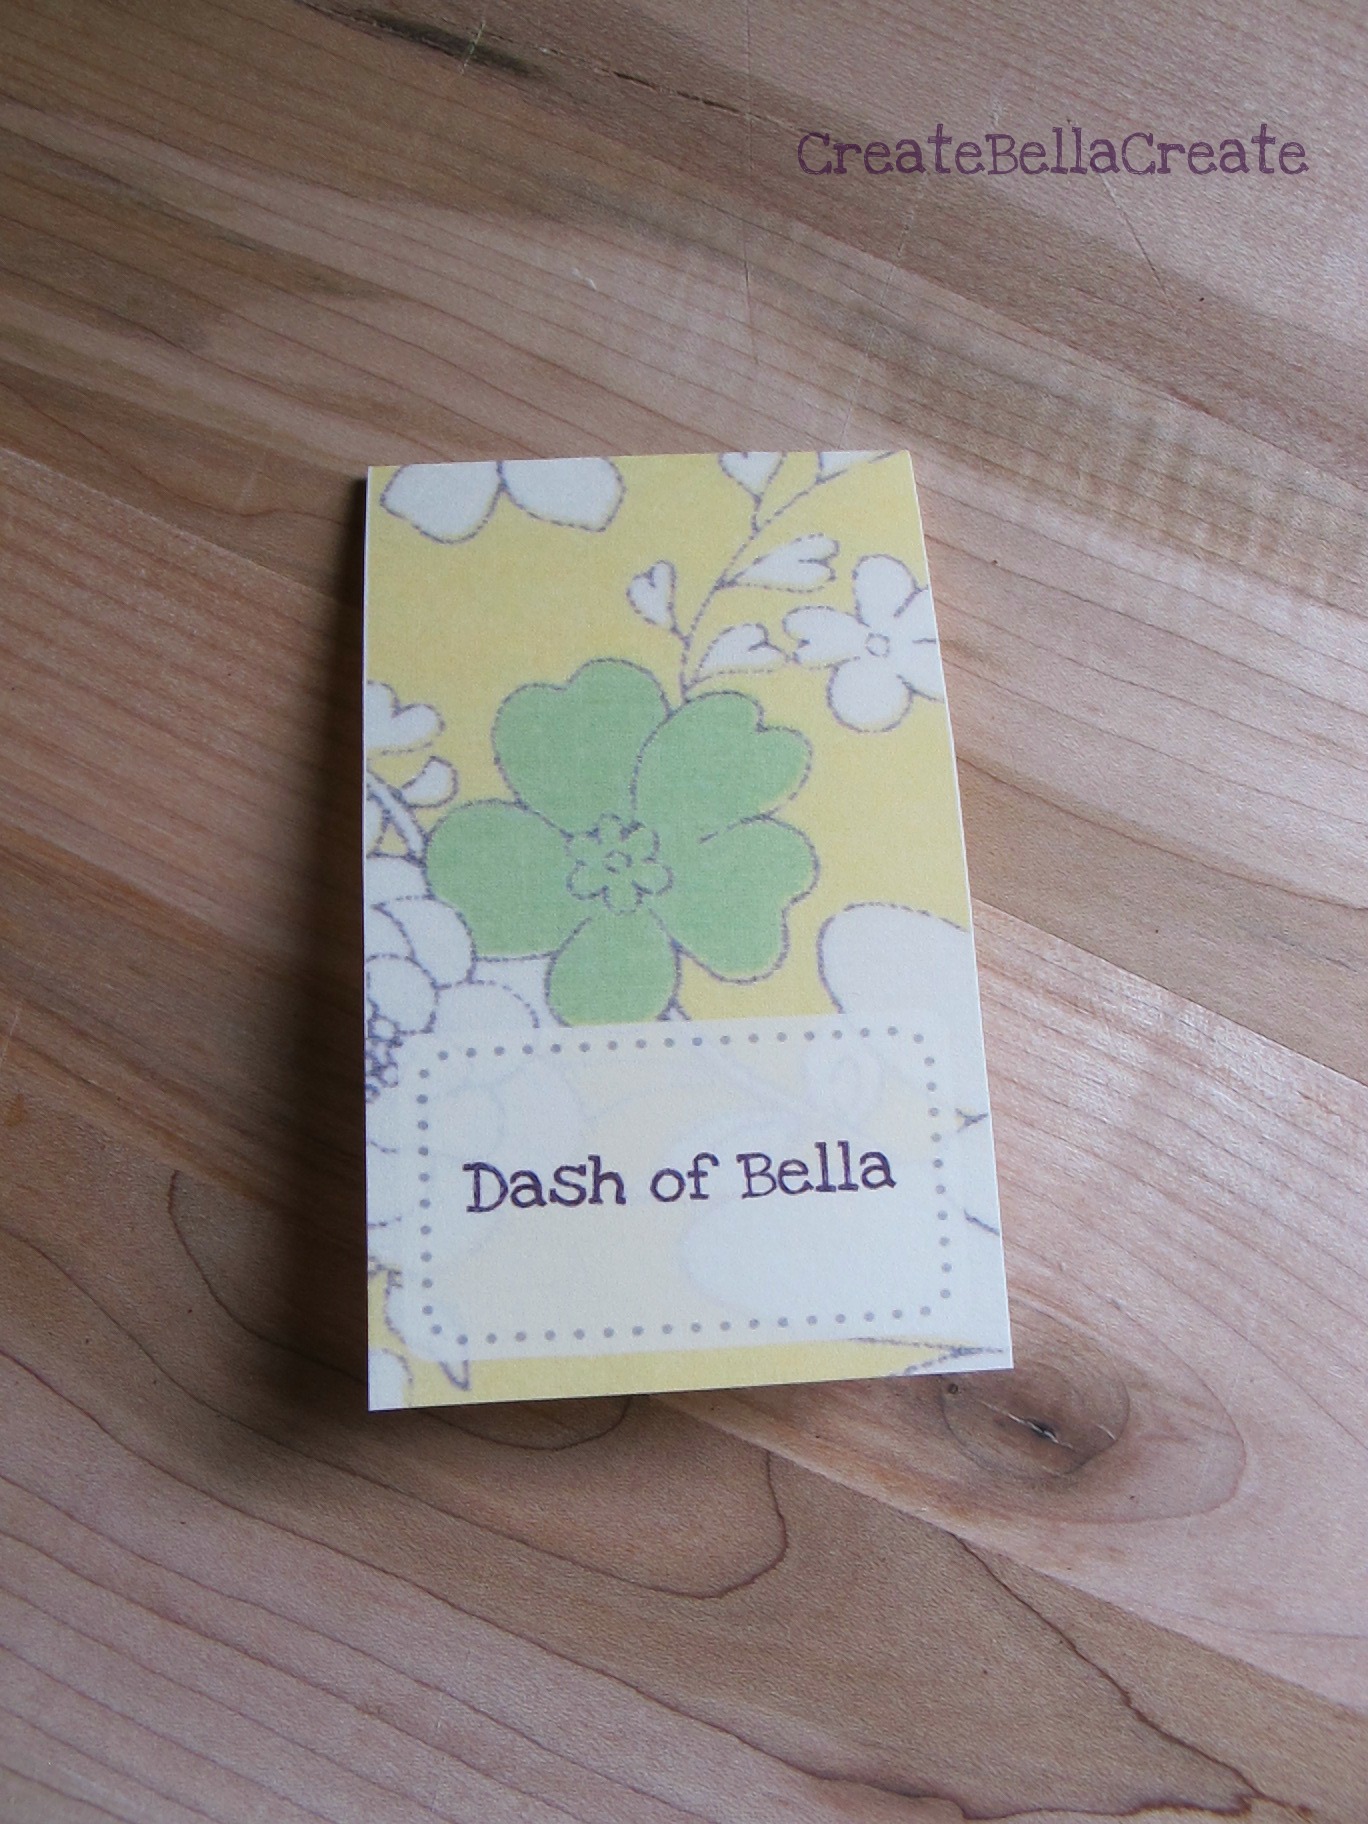
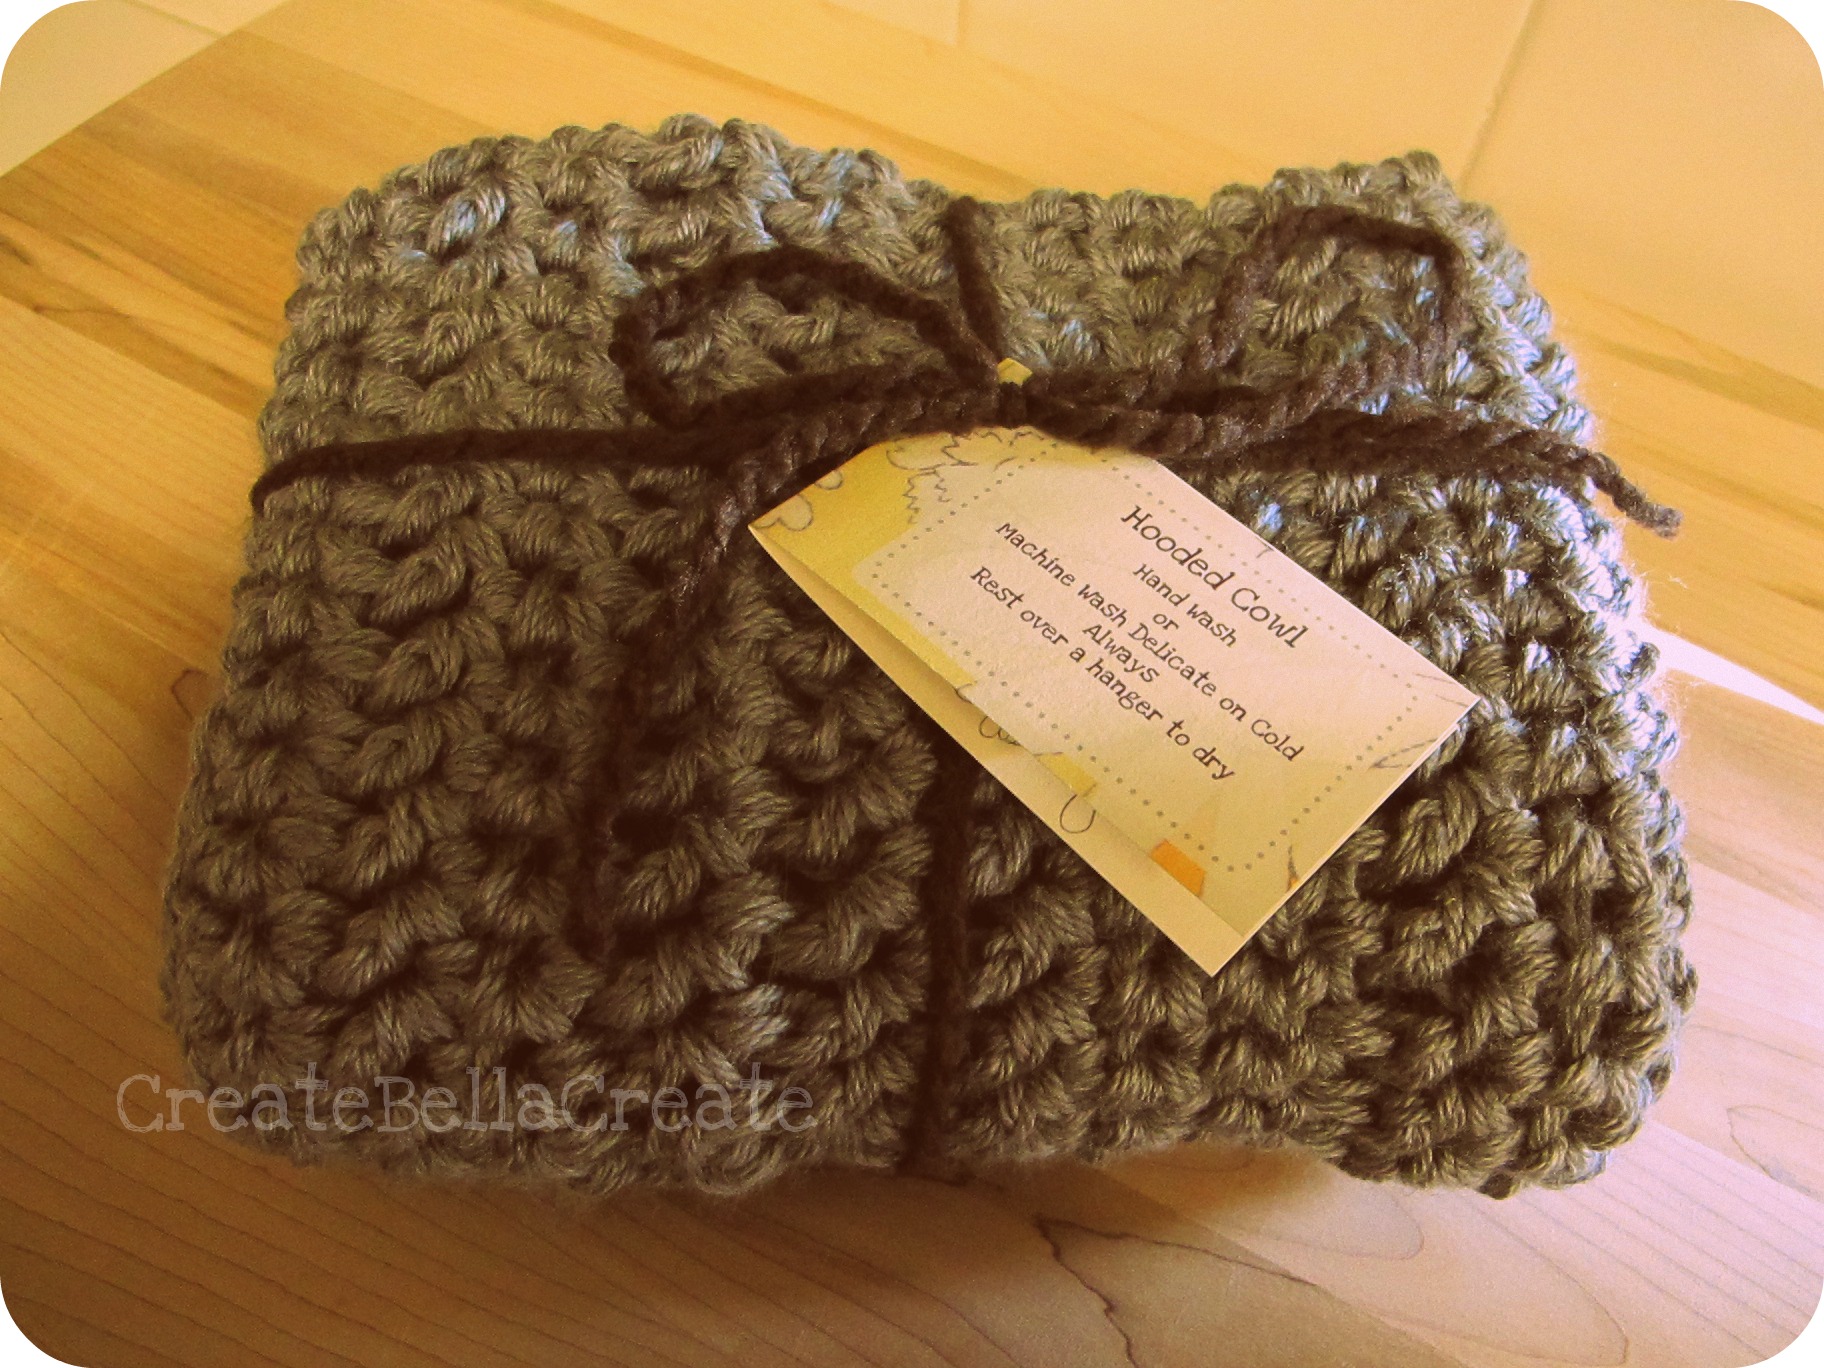
I made a couple of these for gifts this holiday, and I thought I would share the label idea I had because it worked so well for me :)
I found this free design on pinterest, it was under vintage mailing labels. Since I am not on my computer right now I can't access the link but if you look up free mailing/envelope labels things like this should hopefully pop up on your pinterest too. :)
I wrote my shop name for my etsy shop on in one side {did this in photoshop} and the directions for washing on the other {also in photoshop}.
Printed it on card stock and then folded it in half.
Then I hole punched it and strung it through a nice thick yarn to tie around the folded cowl.
I try and go as eco friendly as I can with packaging. I find that scraps of yarn are perfect to tie around a folded piece to keep it together and add a bow and tag to.
I want to make one of these for my daughter {she wants them for her AG dolls too ;) If you wanted to change the size it would just be a matter of making the beginning chain shorter or longer. Just be sure to measure around the head of the person after the first round when making those adjustments. :)


Oh I love this! Thanks so much for sharing!
ReplyDelete