
From the competition she got two little charms and she was so excited about them. I watched her carrying them around the house last night and was worried they would be lost and also wanted to find a neat way to display them for her.
I looked online at a couple sites for how to crochet an award ribbon but couldn't find anything that struck my fancy. So I decided to do what I normally do, wing it and hope for the best lol :)


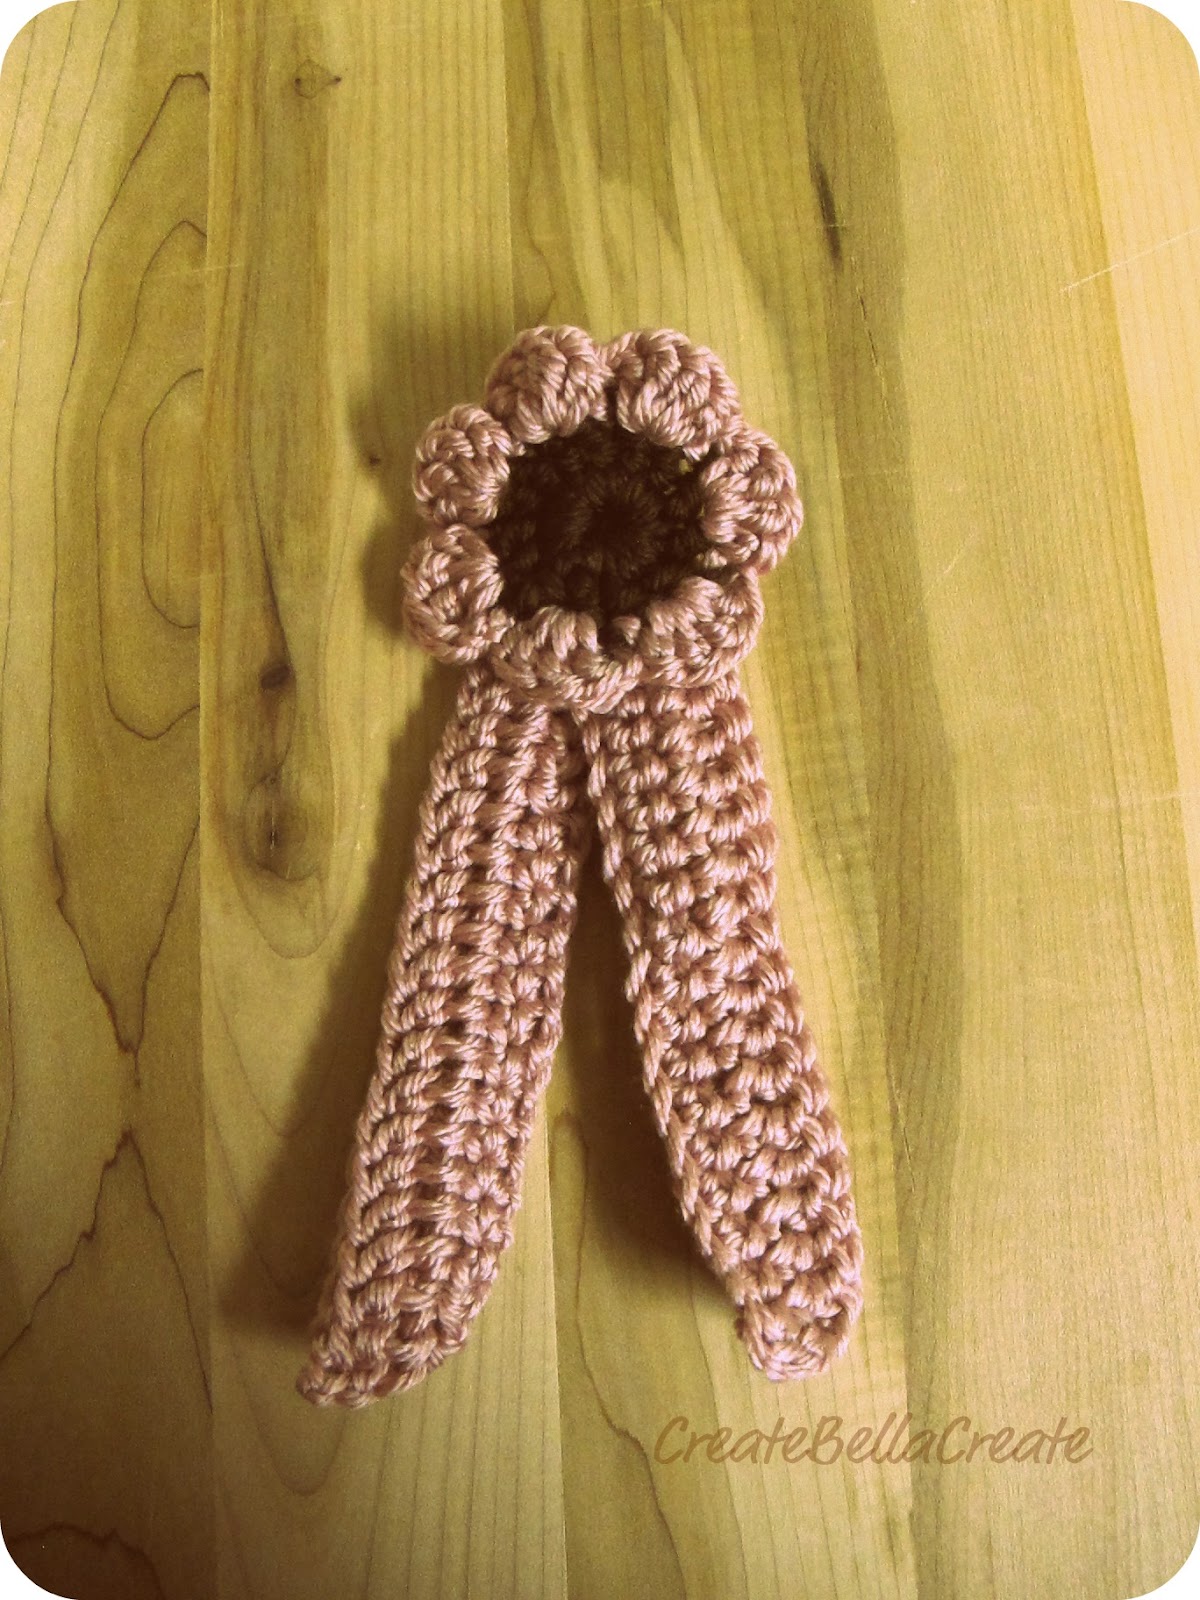
I opted for turning the circle part into a flower to girl it up a bit.
This whole thing is super quick and easy to do, def. a one afternoon project.
Award Ribbon
You may sell things made from my personal patterns BUT DO NOT sell my patterns as your own work. If you sell something made from one of my patterns please credit me for the pattern, Thanks in advance!! :)
If you make one, I would love to see it! :)
What you need:
4.00 mm hook
some yarn from your stash, you won't need much
yarn needle for weaving in ends
thread and needle if you are sewing on charms
Stitches Used:
single crochet {sc}
half double crochet {hdc}
double crochet {dc}
chain {ch}
US Crochet Terms
For the flower:
chain 4 leaving a long thread end
join into a circle
ch 3 {counts as first dc}
13 dc into the circle you made
join with a slip stitch into the ch 3 space of the beginning ch 3
14 total dc
switch to petal color by making your ch 1 with the new petal color
4 dc in the next
*sc in the next, 4 dc in the next*
repeat from * to * around
end with a slip stitch into the ch 1 space
You should have 7 petals
Give all the ends a nice soft tug to tighten your stitches. Finish of your ends and weave them in {except the long thread end from when you started.}
Set the flower aside.
For the two ribbon pieces:
{make two}
ch 25 with the petal color yarn
hdc in the 2nd ch from the hook
hdc across
ch 3 and turn
dc across
Finish off your ends and weave them in.
Construction:
Take the two ribbon pieces and place them how you would like them and then place the flower part. Once you have the look you are going for figured out, you can use the thread left over from when you did the middle part of your flower to sew the three pieces together using a yarn needle.
Next you can do a couple of things.
Sew on charms with needle and thread like I did or you can use another yarn color and yarn needle to make a number one or a shape or star.
To make the necklace part you will need both colors of yarn that you used.
Necklace:
With the petal color yarn ch 90
Join with your middle color and ch 10
Go back to your petal color and ch 90
Finish off the ends and cut them short. I use a bit of fabric tack glue on the ends so they don't fray.
You will take your necklace chain and weave it in through the middle of the flower. That is why you switch back to the middle color, so it will blend in. :)
If you look close at the second photo you can see where I weaved in the chain.
You're finished and ready to make someone's day with an awesomely simple crochet ribbon. If you are making this for a boy simply don't do the petals and just do another round to make the circle bigger.

My beautiful not so little anymore ballerina <3

Hang it up in their room for a cute little keepsake display. Can you tell Victoria loves butterflies? She loves that butterfly stages poster.
PS you are getting a sneak peak at Victoria's new dance homework board. Tutorial coming this week. :)


Hope everyone else had a fabulous weekend too! :)
oooh this is so cute!!! thank you for this new pattern :-)
ReplyDeleteMerci!! :)
DeleteThank You for participating in Show Your Stuff Blog Hop, You are invited to come back:
ReplyDeletehttp://juliejewels1.blogspot.com/2012/02/stuffed-green-peppers-show-your-stuff.html
Thanks for having me! :) Sorry I didn't make it this week for the show your stuff, will def. try and make it this next week. :)
Delete