Finally I am back to writing posts for my blog! I was under the weather the past few days and typing on the computer and photo editing were not high up on my to do list. Thankfully now I am feeling a bit better and have another simple crochet pattern to share today. :) This one goes well with the vintage inspired bracelet idea, same concept and feel but slightly different. I love this one and after making two neutral color ones I am now making a red one to wear for the holidays. :) I will be working out a kids version of this as well....thinking it might make a super cute headband too. Love when accessories have multiple uses!
Yarn Used: Naturally Caron Spa {one of my favorite yarns}
You may sell things made from my personal patterns BUT DO NOT sell my patterns as your own work. If you sell something made from one of my patterns please credit me for the pattern, Thanks in advance!! :)
For this project you will need:
Yarn {I just used what I had on hand that was leftover from a sweater}
4.00 mm crochet hook
Yarn needle
lace or ribbon{1.5 - 2 yards depending on how you want it to hang}
Pattern written in US Crochet Terms
Stitches Used:
chain {ch}
half double Crochet {hdc}
Triple Crochet {tr}
single crochet {sc}
double crochet {dc}
skip {sk}
Vintage Inspired Crochet Necklace Pattern
ch 90
ch 5 more
Row 1:
tr in the 8th ch from the crochet hook
ch 2, sk 2
*tr, ch 2, sk 2* follow this pattern until you reach the end of the row and end with a tr
Row 2:
ch 2 and turn
hdc across
When you get to each ch 2 space do 2 hdc in each ch 2 space so that it makes a cleaner edge to weave your lace or ribbon through later on.
End with 3 hdc in the last ch 2 space.
Row3:
ch 1 and turn
sc in the ch 1 space, sk 2, 8dc in the next, sk 2
*sc, sk 2, 8 dc in the next, sk 2* follow this pattern until you reach the end of the row and end with a sc.
You're finished!!
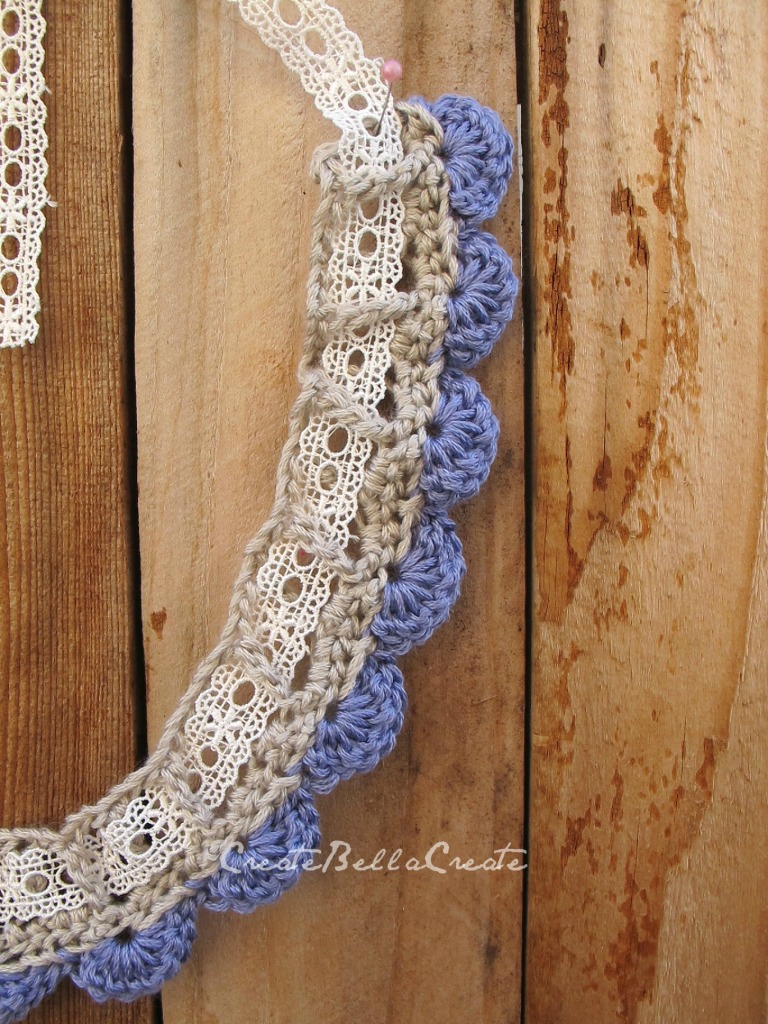
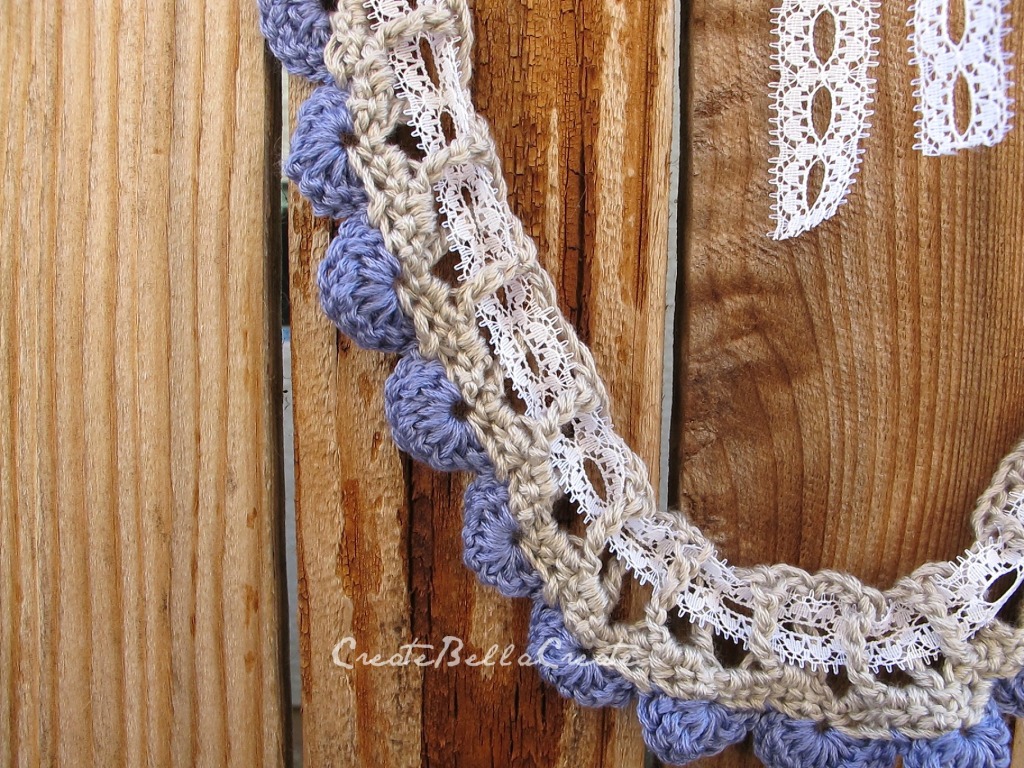
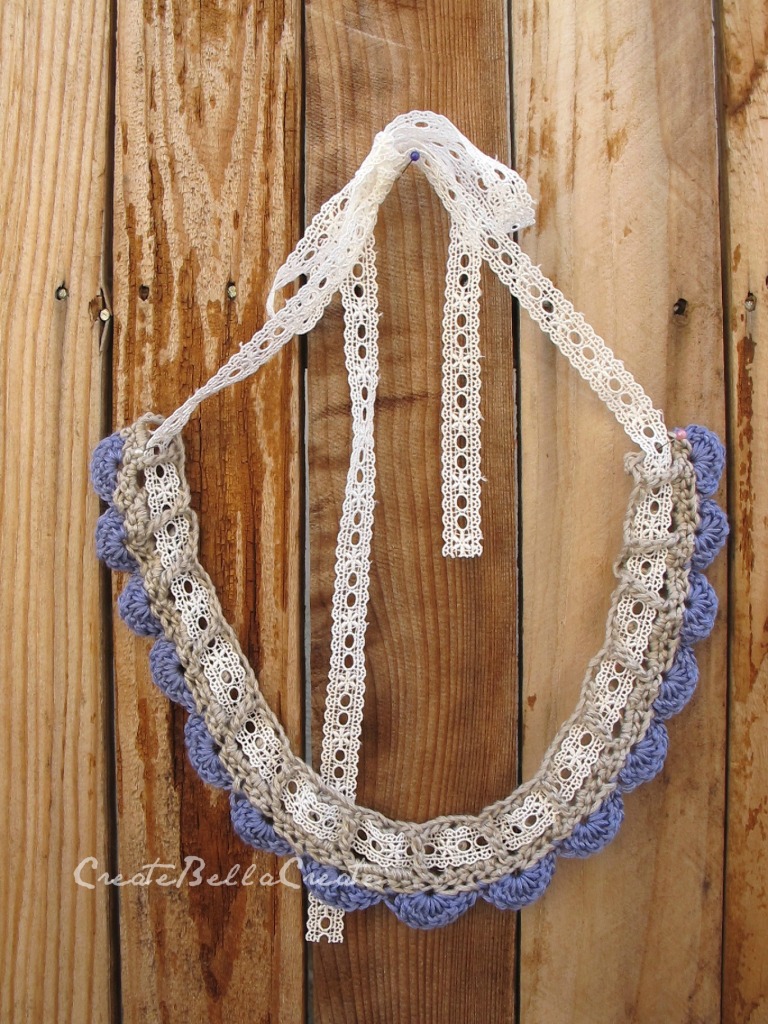
Finish off your ends and weave them in. Grab some pretty ribbon or lace and weave it in and out through the spaces and use the lace or ribbon to tie a bow in the back. I think if you were to wear something like this with your hair up, the lace bow would look really pretty resting on the back of your neck. You could def. make this piece more casual or more dressed up depending on the yarn and the lace used. A word of advice when choosing lace for this project, make sure it is a soft lace, if you get one that is rough it can be itchy to wear on your neck.
I am hoping to finish my red one today and then I am going to pick out some purple yarn to make one for Victoria to wear. After looking at the photos while uploading, I am now sold on about using this pattern for a headband for Victoria....she loves wearing headbands to ballet class and this would be really cute to do for that.
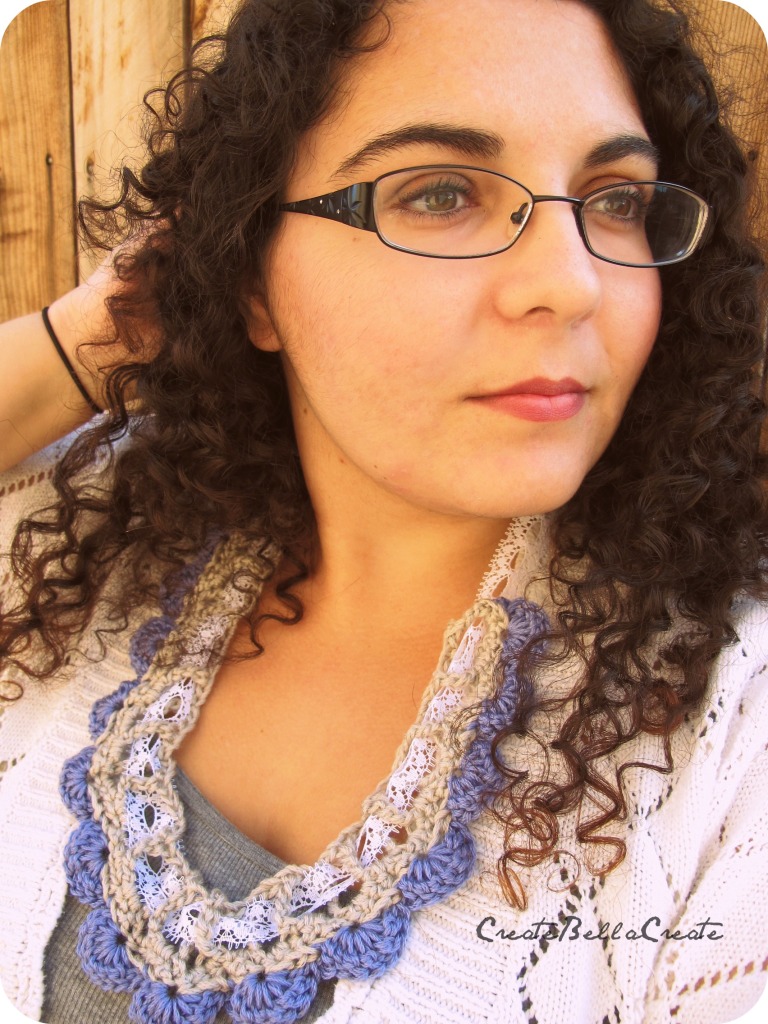
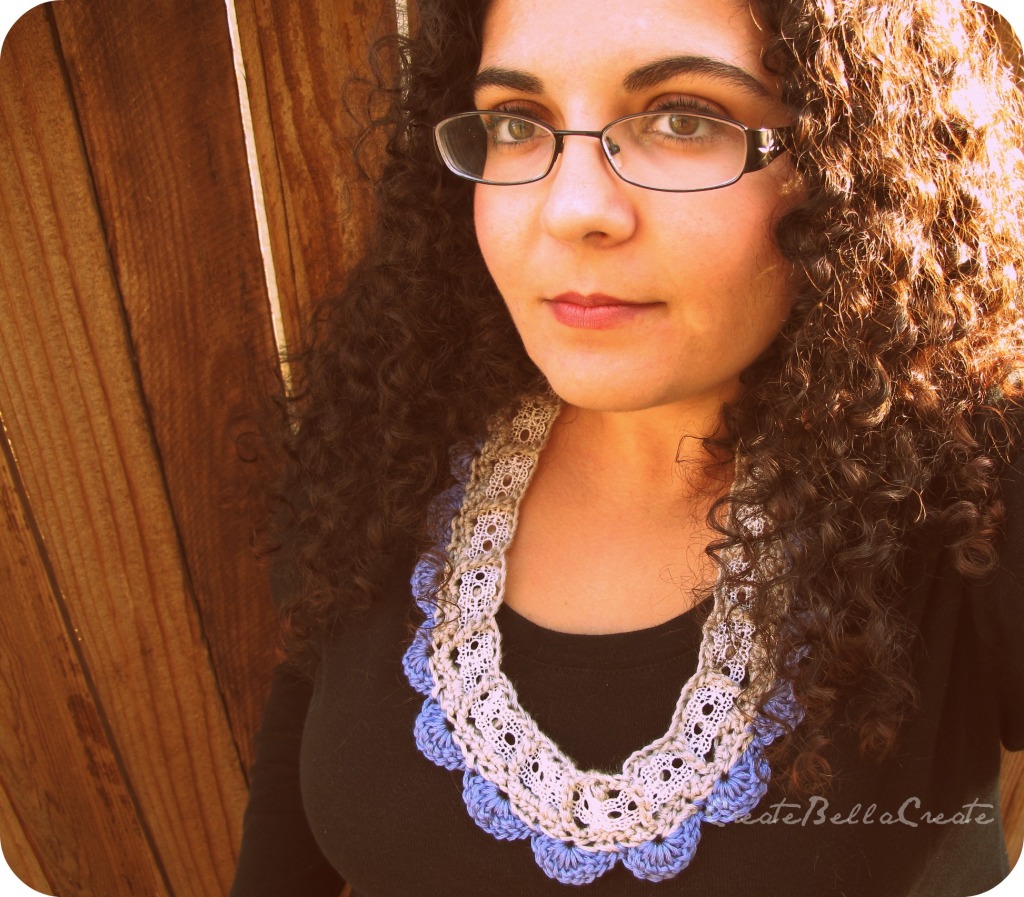
This shot is using a thinner lace. I think it looks really pretty but the lace was not laying as flat as I would have liked it too and that bothered me a bit.
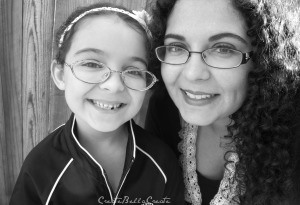
Thank you to Victoria for taking this photo...she loves taking photos and asked if she could help in the photo taking of this piece. It was so cute to watch her take photos of me and tell me how to pose. She loves taking photos .....her camera is filled with many photos of our cats and dog. Not sure how much they love being the center of her photography world though lol ;)
In this shot I used a thicker lace and it fit the bill beautifully. I liked that it stayed flat and showed off the detail in the lace.
Just a reminder, this pattern is for personal use only and if you make one I would love to see the finished product. :)
I set up a flickr account to post finished products from others, so if you would like to have yours up there just send me a message and I would gladly post it.
Off to dance we go! I love my wee ballerina, she melts my heart on a daily basis :)
A super sweet gal Lisa @ Tiny Bubbles sent me a photo of her finished piece using my pattern and then taking it and making it her own. I love how she got creative with my simple pattern!! If you make something from this please send me a photo, I would love to see it and share it with others in this post. :)
A super sweet gal Lisa @ Tiny Bubbles sent me a photo of her finished piece using my pattern and then taking it and making it her own. I love how she got creative with my simple pattern!! If you make something from this please send me a photo, I would love to see it and share it with others in this post. :)


No comments:
Post a Comment
Note: Only a member of this blog may post a comment.