Showing posts with label eco~friendly. Show all posts

Tuesday, June 11, 2013

Tissue Paper Glass Jar Luminaries

Crafts that allow us to reuse items that would otherwise be recycled or thrown away are a win win in our house.  I like to save glass jars from everyday things we might buy, condiments, sauces, pickles, ect.....you never know when they might come in handy for a craft project on a really hot { or rainy or cold } day.


Tissue Paper Luminaries 

What you will need:

clean and empty glass jars { no labels }
tissue paper { the thin solid color ones work best but they are delicate to work with }
scissors 
mod podge 
containers for tracing if you want to have certain shapes cut out 
Paint brushes { to apply the mod podge }
small candles or tea lights 
lighter { to light your candles }

Step 1:
Pick out your colors and figure out what design you want to have on your jar. 
Cut out the pieces you will need. 

Step 2:
Spread a little bit of mod podge on the jar at a time and place your tissue paper onto it patting it down.  Try not to rub the tissue paper down because this can cause it to tear.  Also, you don't need a ton of mod podge to get the tissue paper to stick down, too much and the tissue paper can tear, wrinkle, or become a squished mess because it will get over saturated. 
Finish applying all of your tissue paper to your jar. 

Step 3:
Allow your jar to dry for about 10 mins or so and then apply mod podge over all of the tissue paper to seal it down.  You want to wait to do this because if the tissue paper gets too saturated with mod podge it can cause it to tear or crinkle on the jar. 

Allow your jars to dry all of the way before handling and placing a tea light into the jar. 


Bonus points to the people who can tell me what character the middle jar is made to look like. ;) 


My daughter loves having her jar in her room at night all aglow.  Like me, she is a lover of candles and candle light. :)

Have left over jars in your home? You can turn them into fun luminaries for every day display or you can make seasonal ones like we did a few Halloweens back: 


Friday, May 31, 2013

End of the year Teacher Gift {Face Scrubbies}

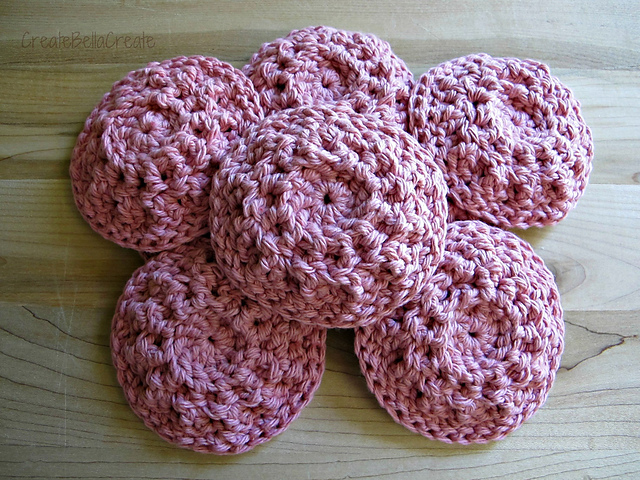
Are you a crochet lover { and possible addict ;) } looking for a quick and easy teacher gift for end of the year?  I have the perfect gift that works up fast and easy and also uses minimal yarn.


A set of handmade all cotton face scrubbies that are fabulous to use and eco friendly too! :)
{Scroll down for pattern link}

I have made two sets for myself and multiple sets as gifts and everyone always loves them.  They are great for washing your face in the morning or cleaning make up off your face at night.  Throw them in the washing machine with your towels {I throw my in the sanitary setting on my front loader with my towels} and then you can lay them flat to dry or throw them in with another load to dry {I always throw them in on the delicate cycle to avoid shrinking}.  They do curl up a bit after washing but as soon as you get them wet they are flat and back to their normal size and shape.


The texture is fabulous on these, one side is more bumpy than the other, so depending on what kind of texture you are looking for you have two options with these. 


Sorry for all the photos....
I am in love with this sea foam green color, it looks even more fab in person too! 
I want to paint a room in my house this color...or maybe just buy a dress in it. ;) 

The pattern is available for free on Ravelry here and if you want my notes with the yarn info you can see that here

I like to keep my packaging simple and sweet, use some vintage lace to tie them up in a cute little bundle and add a card to your shop or a sweet little note.  These beauties are bound to be loved for many months to come and mother earth will thank you for helping to keep the planet a little more green. :)


Sunday, August 12, 2012

Tutorial: Leg Warmers out of a Sweater
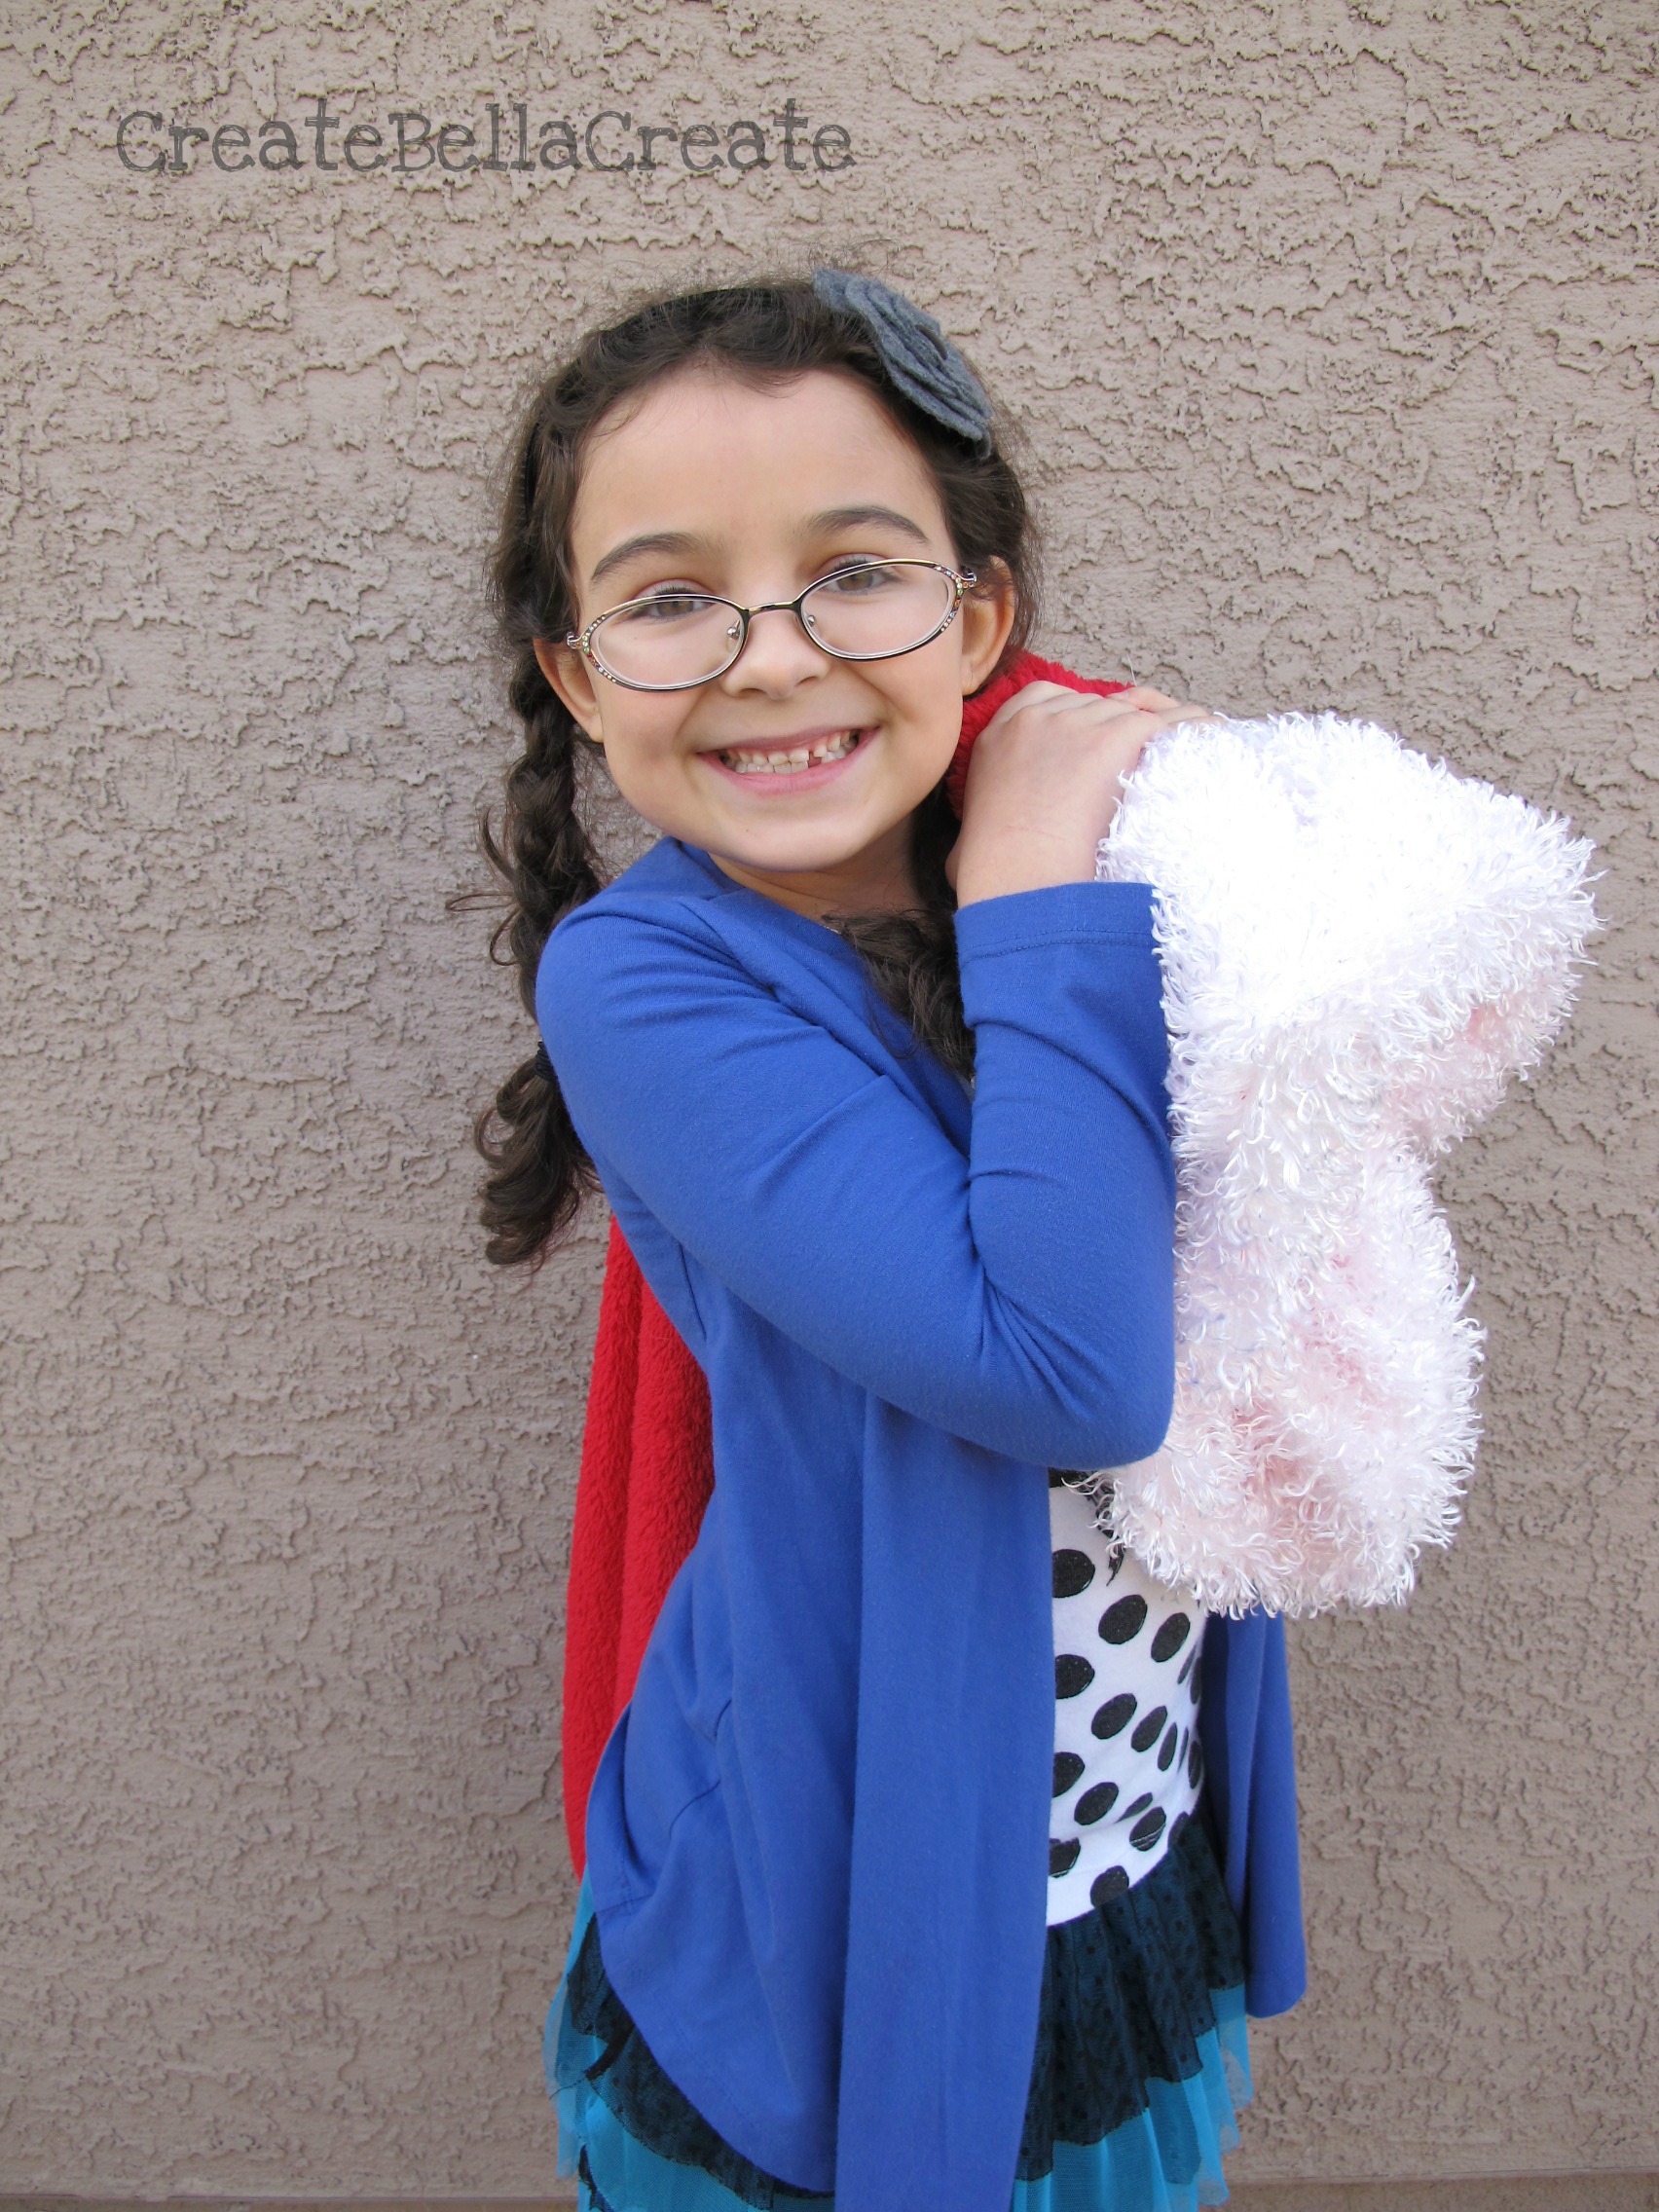
It's no secret that I love taking things I get while thrifting and turning them into something new.  
It's so much fun to look at something and then have that light bulb moment where you can totally see it as something fresh and new. 

My daughter, aka Little Miss Ballerina, refuses to wear pants or jeans of any kind.  She is a skirt and leggings/tights kinda girl which I think is awesome BUT when it gets cooler she def has a thing or two to say about being cold.  I have crocheted her some leg warmers but I thought making some out of sweaters would be something fun and new for her.....so off to the local thrift store we went in search of some awesome sweaters to breath new life into. :)


We spotted this super cute striped number in the girls section and knew this was the one for us.  And who could argue with a $2.00 price tag? :) 
{Second Tutorial in the works for using the rest of the sweater to make matching mittens for the leg warmers.}


What you will Need 

An old sweater {Make sure the sleeves will fit your child's legs}
Scissors 
Sewing Machine
Matching Thread
Thin elastic {see photo below}


To make sure the leg warmers will fit, take the sleeves and have your child slide their leg in them. If you can pull it up to right below the knee with ease you have a winner.  You also want to make sure that the bottom ribbing will hit right at the ankle for full coverage.  If you have a child with longer legs you may have to go up to a bigger size and end up with more roomy leg warmers which won't be an issue because you will be using elastic to hold  them up.  My daughter usually wears a size small and we found that going up two sizes to a kids large worked best for nice roomy leg warmers. But since every kid is built different, def. try them on first. 

Step 1
Turn your sweater inside out. 
 Cut across the sleeves right at the arm pit. {See photo above}  Make sure that you cut straight across so you are getting the most out of your sleeves you can. 


You will then have two cut sleeves that look like this. Cut your edges up top to make them nice and smooth.  I was snapping photos quick before I went to sew these up so I didn't do that till I went back to the sewing table.  :)


Step 2
 Fold over the top about an inch to create the casing for your elastic to go through. 
 {You will want to use the thinner elastic like you see in the photo above.}

Step 3
 {This step is just like making a skirt casing.}
Go to your sewing machine and sew around your leg warmers leaving a two inch space not sewn closed like you would when you make a casing for a skirt.  

Step 4
Measure the elastic around your child right under the knee. You want it snug to keep the leg warmers up but not so tight its not comfortable. You will want to add a little extra so that you can overlap the piece when sewing them together.  Cut your two pieces.  Attach a safety pin to the end of one piece of elastic and thread it through the casing of one of your leg warmers, holding on to the other end of the elastic so that you don't loose it in the casing.  

Once you get your elastic threaded through the casing, use your sewing machine and a zig zag stitch to sew the two ends of the elastic together. Sew the gap in the casing closed with your sewing machine. 

Repeat for the other leg warmer.

Now have your cute model slip on their awesome new leg warmers and show them off to the world!

Note: 
This prob. does not need to be mentioned BUT I thought I would throw it in since I made this silly mistake. 
When using stripes use the color thread that is the outside stripe, not the inside stripe.  I used white not thinking about the fact that the stripe on the outside was pink {and not white like the one I was sewing on on the inside} ...silly moment and a lesson learned for next time.  Little Miss does not mind and she was so excited over these and loves them so I'm not too fussed about it myself.  I just know for next time when using stripes I have to pay closer attention. :) lol 


Two dollar sweater = new adorable leg warmers and a pair of matching mittens. Awesome! 
Mitten tutorial coming up soon, :)

Tuesday, January 24, 2012

Homemade Deodorant

I have read about making homemade deodorant in many of my eco books that I love but for some reason never really buckled down and made my own.  There are so many tutorials out there for deodorant that it was hard to pick one.  To make it easier I just found one that was simple and easy to make and had the least number of ingredients in it.

I think the biggest push for me to make my own deodorant was the couple articles I have read in the past month about what is in deodorant...the aluminum that can be found in so many and the fact that I have not found an organic deodorant that I like that was not super pricey.

I'm not going to preach to you about eco this and nasty chemicals that.  I'm not too keen on people preaching to me....if you want to know more about what is in deodorant you can type it into google search and a ton of info and articles will pop up.

Next month we are going to be transitioning to another chapter of our family's lifestyle change.  Its part of our 2012 New Year resolutions that we made.  I plan on doing a post on that and some of my favorite reads.  I'm super excited about this next chapter and what it will bring for our family in a way of being healthier.  :)


I decided to use a glass jar for mine... I wanted to be able to run it through the dishwasher or hand wash the jar to keep it clean and I am not a fan of plastic.  I found this super cute jar {made in Italy} while out shopping one day and thought it would be perfect! 

Homemade Deodorant 
This recipe can be found all over blog world so I am not sure who to give the credit too.  It's not my own version, just one I saw a bunch of times while searching for the perfect one.  That being said, I plan on tweaking this one a bit with different scents. :)

1/4 cup baking soda {I got an organic aluminum free version from Whole Foods}
1/4 cup cornstarch {organic version from whole foods}
5.5 Tablespoons of coconut oil {I used an organic one}

First things first, make sure your coconut oil is soft and in a state that is easy to mix.  I heated mine up a tad just so it was easier to work with.  I just put the 5.5 tablespoons in a glass dish and heated it on top of a saucepan of boiling water.  You can zap in in the microwave if you want, I just don't trust ours lol :P 

After your coconut oil is nice and soft put that and your baking soda and cornstarch in the bowl of your stand mixer and mix until well blended.  You could mix by hand but I just threw my ingredients in my mixer to make it easier on me. 

After it was all blended I poured it into my glass bowl and stuck it in the fridge for an hour so it would speed up the setting process.  


To use:
Just use your finger to pull out a small amount, rub it in between your fingers to warm if up if its too hard and then apply under your arms.  

If its too cold it will harden up a bit.  I keep mine in my kitchen because my bathroom is really cold in the winter.  That way it stays a nice warm temp and is easy to use.  Once it warms up a bit here I will be able to move it back into my bathroom.  By warm temp I mean around 69 -70 degrees.  If its too warm it will get too soft and the oil will start to turn into liquid, too cold and its hard.  I have found that the 69- 70 degree temp works best. 

You can add tea tree oil or another essential oil if you would like.  Just a few drops will work.  


I am in love with this deodorant, it works great and does not leave white marks on my clothes.  I have been using it on days where I am in Physical Therapy and doing work in the gym and on the treadmill and have not had an issue with smelling one bit.  I kinda like the coconut smell of it but I do plan on making a citrus or lavender blend one as well.  This recipe makes a small amount which is perfect for trying it out.  Next time I will make a double batch. :)

Organic deodorant that does not cost an arm and a leg and is free of nasty chemicals/ingredients: check ;)

Wednesday, January 18, 2012

Turning Kitchen Items into School/Computer Room Storage

Currently our extra bedroom in our home is our functioning computer room, schooling room, & crafting room.  And when I say functioning I'm talking on the edge in between functioning and chaos lol ;)

This past weekend we started working on a whole house detox......trying to get rid of things that we don't need or use.  The rule was, if we have not used it in a year then it was getting donated and getting out of the house.  It felt so good to be getting rid of things and getting more organized.  I realized I had way too much stuff in the spare room.....when we started to unload the walk in closet....it was never ending craft and schooling stuff.  My husband just laughs and shakes his head because he knows how I get with my crafting stuff.  :)

I knew I was in desperate need of storage and I knew I didn't want traditional storage....I wanted something fun and vintage, stuff that would make me smile when I came into the room. :)
 My husband found this awesome vintage wood breadbox thrifting last week.  It was in fabulous condition and I loved the construction of it.  {To the left of the printer you are getting a sneak peak at part of my desk area, can can you tell I am a HP addict? :P }
 This breadbox had a shelf inside it and it was perfect for storing paper.  I had been using those metal things with the open shelves but the paper would get dusty or the cats would get it it.  This was perfect! White paper up top for our printer and lined paper on the bottom for schooling.  There was even enough room to put our stapler in so that it was one less thing cluttering my desk area.
 I love the construction along the top, its got character and has a unique look that I don't see in many pieces today.
 This piece I made awhile back and its been great for storing pens, pencils, scissors, dry erase markers and more.  When Victoria was little we put markers in one, crayons in another, and colored pencils in the last one.  This way all her favorite coloring mediums where out and easy for her to access. Now that she is older I use it for schooling stuff for my desk.  Pens in one, dry erase markers in the middle, correcting pens and pencils, scissors, and a hole punch in the last.  I love this piece!  Its made out of kitchen items that I found thrifting.  The bottom part was one of those snack holders for parties, each section done up to look like a sunflower.  I then added two plain coffee cups to the ends and a sugar bowl to the middle.  I looked for brown but never could find a shade I liked so I just went with basic white and I'm like the clean look of it.
We also use mason jars for storage in our school/craft/computer room, or jars from sauces.  Some of them left clean and plain, the others decorated with paper and mod podge.  I love taking something that would usually get throw out in the trash and putting it to use as something else.  Its a good feeling. :)


Monday, January 16, 2012

How to: Vintage Wooden Hanger Jewelry Display


True to my love affair with all things vintage and eco my husband and I made a jewelry display that takes both of my loves and puts them together into one awesome piece.  I was even able to add in a little crochet....if I was feeling better today I think I would have done a happy dance. :)

For this project you will need:

A wooden hanger
A drill with a small drill bit {a little smaller than the hooks that screw in}
A package of 7/8" cup hooks {you won't use them all}
A nail for hanging
 Pretty jewelry ;)
Any other embellishments you might like
With a pencil mark the spots on the hanger where you want your hooks to go.  We did ours about an inch apart and then left an inch and a half on each end.
Drill into your hanger about halfway through at the spots that you marked.
Screw in your cup hooks.
And you are finished! Its so totally easy :)
Photo done by Victoria, she thought it was so cool that the hooks made little hearts when put together. :)
I crocheted a flower and then sewed a vintage button in the middle.  I didn't sew it super tight, I did it so that I could slip a nail underneath it.
Then I took the nail I was going to use to hang it and put it threw the middle of my flower by going under the button.  This hides your nail head fabulously. :)
I'm in love, its so simple and so me.  Vintage goodness, eco goodness via re~purposing, with some crochet and fun.  Love, Love, Love it! <3
Its hanging in my bathroom {too keep the kitties away} and it just makes me smile.  I put some of my favorite piece on here to start with, I might make a second one because I have a lot of favorites.  The cameo that my husband found the charm and necklace for at different times and gave to me to make a special necklace, the awesome piece one of my BFF's made me, vintage goodies from one of my favorite people {she is like a mom to me!} and then a few necklaces that I made.
I bought a bundle of hangers and have a few left over.  I was going to list them on my etsy store but thought I would put them for sale on my blog first.  If you're interested in one of these jewelry displays, send me an email at createbellacreate{at}gmail{dot}com for details.   :)
Other goodies from thrifting:
This cool piece needs to be cleaned up and treated with some oil to bring it back into a great condition.  Once we are done with that, it will go in our hall bath as a hanging storage cabinet.
Unique vintage storage for 20 bucks?  I'm thrilled! :)
Victoria even picked out a piece for her dolls.
This piece was really heavy! Real wood and not sure what the metal was, but it was heavy! Victoria fell in love with this at sight.  Since we got home today she has been using it for her Monster dolls and her American Girl dolls as well.  I love that Victoria loves to thrift shop for vintage goodies as much as me.  Although the place we went to today was very large and by the end she was tired.  But when I asked her if she wanted to go back she was quite keen to go. :)
The monster dolls, Victoria loves these things!    She must have a thing for this type of stuff because she also loves Abby on NCIS.  She thinks she is awesome. :)
Tomorrow I am going to do a post for homeschooling: The Periodic Table Activity
We had such a good time with this one, I think if I had projects like this in school growing up I might have enjoyed learning about the elements more. :)

Tutorial: Upcycle a Vintage Dish into a Dish Stand


I love thrift store shopping...looking at all the vintage and retro pieces just makes me smile.  Sometimes I wonder if I was born in the wrong time period because I love that stuff so much. ;)
Christmas weekend we saw lots of family and my wonderful Aunt showed me the cake stands she was making with vintage dishes.  They were adorable and so unique looking and I loved them as soon as I saw them.  This weekend when I went thrift store shopping I had that piece that she had made in the back of my mind.  While looking at all the goodies {and hoping to find unique pieces to make my own dish stands} I found this beauty:


I love the detail work and how unique this piece is.  I have seen things like this on the web and on pinterest while looking for vintage pieces and was so excited when I found a beauty of my own! :)
My luck continued because I found the perfect dishes to use to make my dish stands and unique pieces to use for the stand parts as well.  I was so excited to go home and make my dish stands ....the whole time we finished running around I was thinking about my dish stands and how they were going to look.  ;)

What you need for this project:

Dishes {plates or bowls or even cups would work}
Sturdy pieces to use for your stands
E6000 Glue or similar Glue
Optional: Q ~ Tips for spreading the glue
Books to place onto your stand to hold the pieces together while they are drying.

Grab your plates and stands and lay them out on the table so you can decide how you want them to look.  I have three of  the same dishes this time around so I didn't have to think much about it.  But if you have different dishes this is the time to place them on the stands and find that perfect fit.
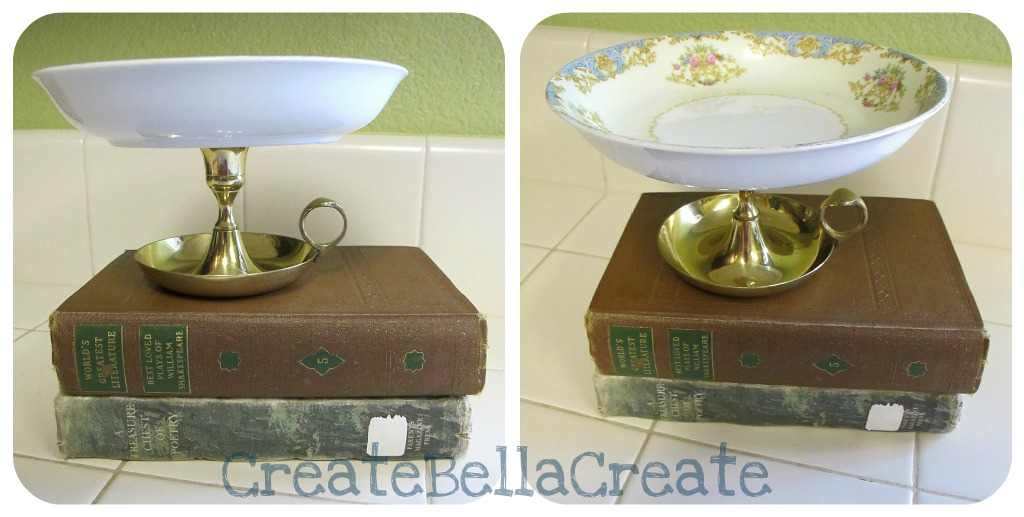
The dishes I got have a nice flat area in the middle and they also have a  lip to keep things in.   For my stands I found two old school candle holders and another stand that was meant for candles.  My husband just took off the middle point piece that was meant to go into a candle to hold it steady on the holder.  If you see cool pieces always look to see if you can change something about the piece to make a new use for it. :)

Put your dish upside down.  Apply your glue to the edge of the piece{the part that will touch your dish when the dish is resting on it} you are using for your stand with a q~tip.

Place the stand onto the dish and use gentle pressure to push the stand to the dish.  Place a book or two {not to heavy because you don't want to break your dish} onto the bottom of the stand to hold the two pieces together while the glue dries.

I didn't take photos of this part because I didn't want to risk getting that nasty glue on my camera. ;)
After you do all of your dishes and they are mostly dry.  Transfer them carefully to the garage, still upside down to dry.  The glue kinda smells so I like to let the pieces dry outside. :)
I can't wait to give two of these as gifts.  I just love how they came out! :)
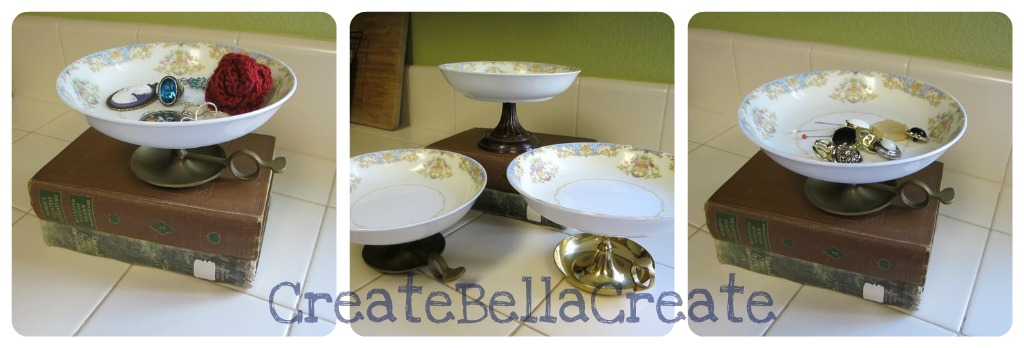
You can use them for so many things....
to hold your jewelry
to hold your sewing stuff while sewing
to hold your sponges by your sink
to hold a candle
so many possibilities!
I plan to use mine for my jewelry in the bathroom.  That way I can place my jewelry in there before cleaning up. You could also put it by your kitchen sink and place your jewelry in there before washing dishes to keep your jewelry nice and clean. :)
Hoping everyone has a wonderful new years weekend!

Santa Sack Tradition


I saw this tradition on a couple blogs that I read from moms in Aussie and fell in love with this idea.  We don't usually wrap gifts in our house unless they are for people outside our family of three.  Even then I try and use bags that can be recycled or reused when gift giving.  So normally on Christmas morning our daughter would wake up and see her gifts stacked up in a neat pile waiting to be sorted through .....my husband and I waiting to hear squeals of delight.  :)
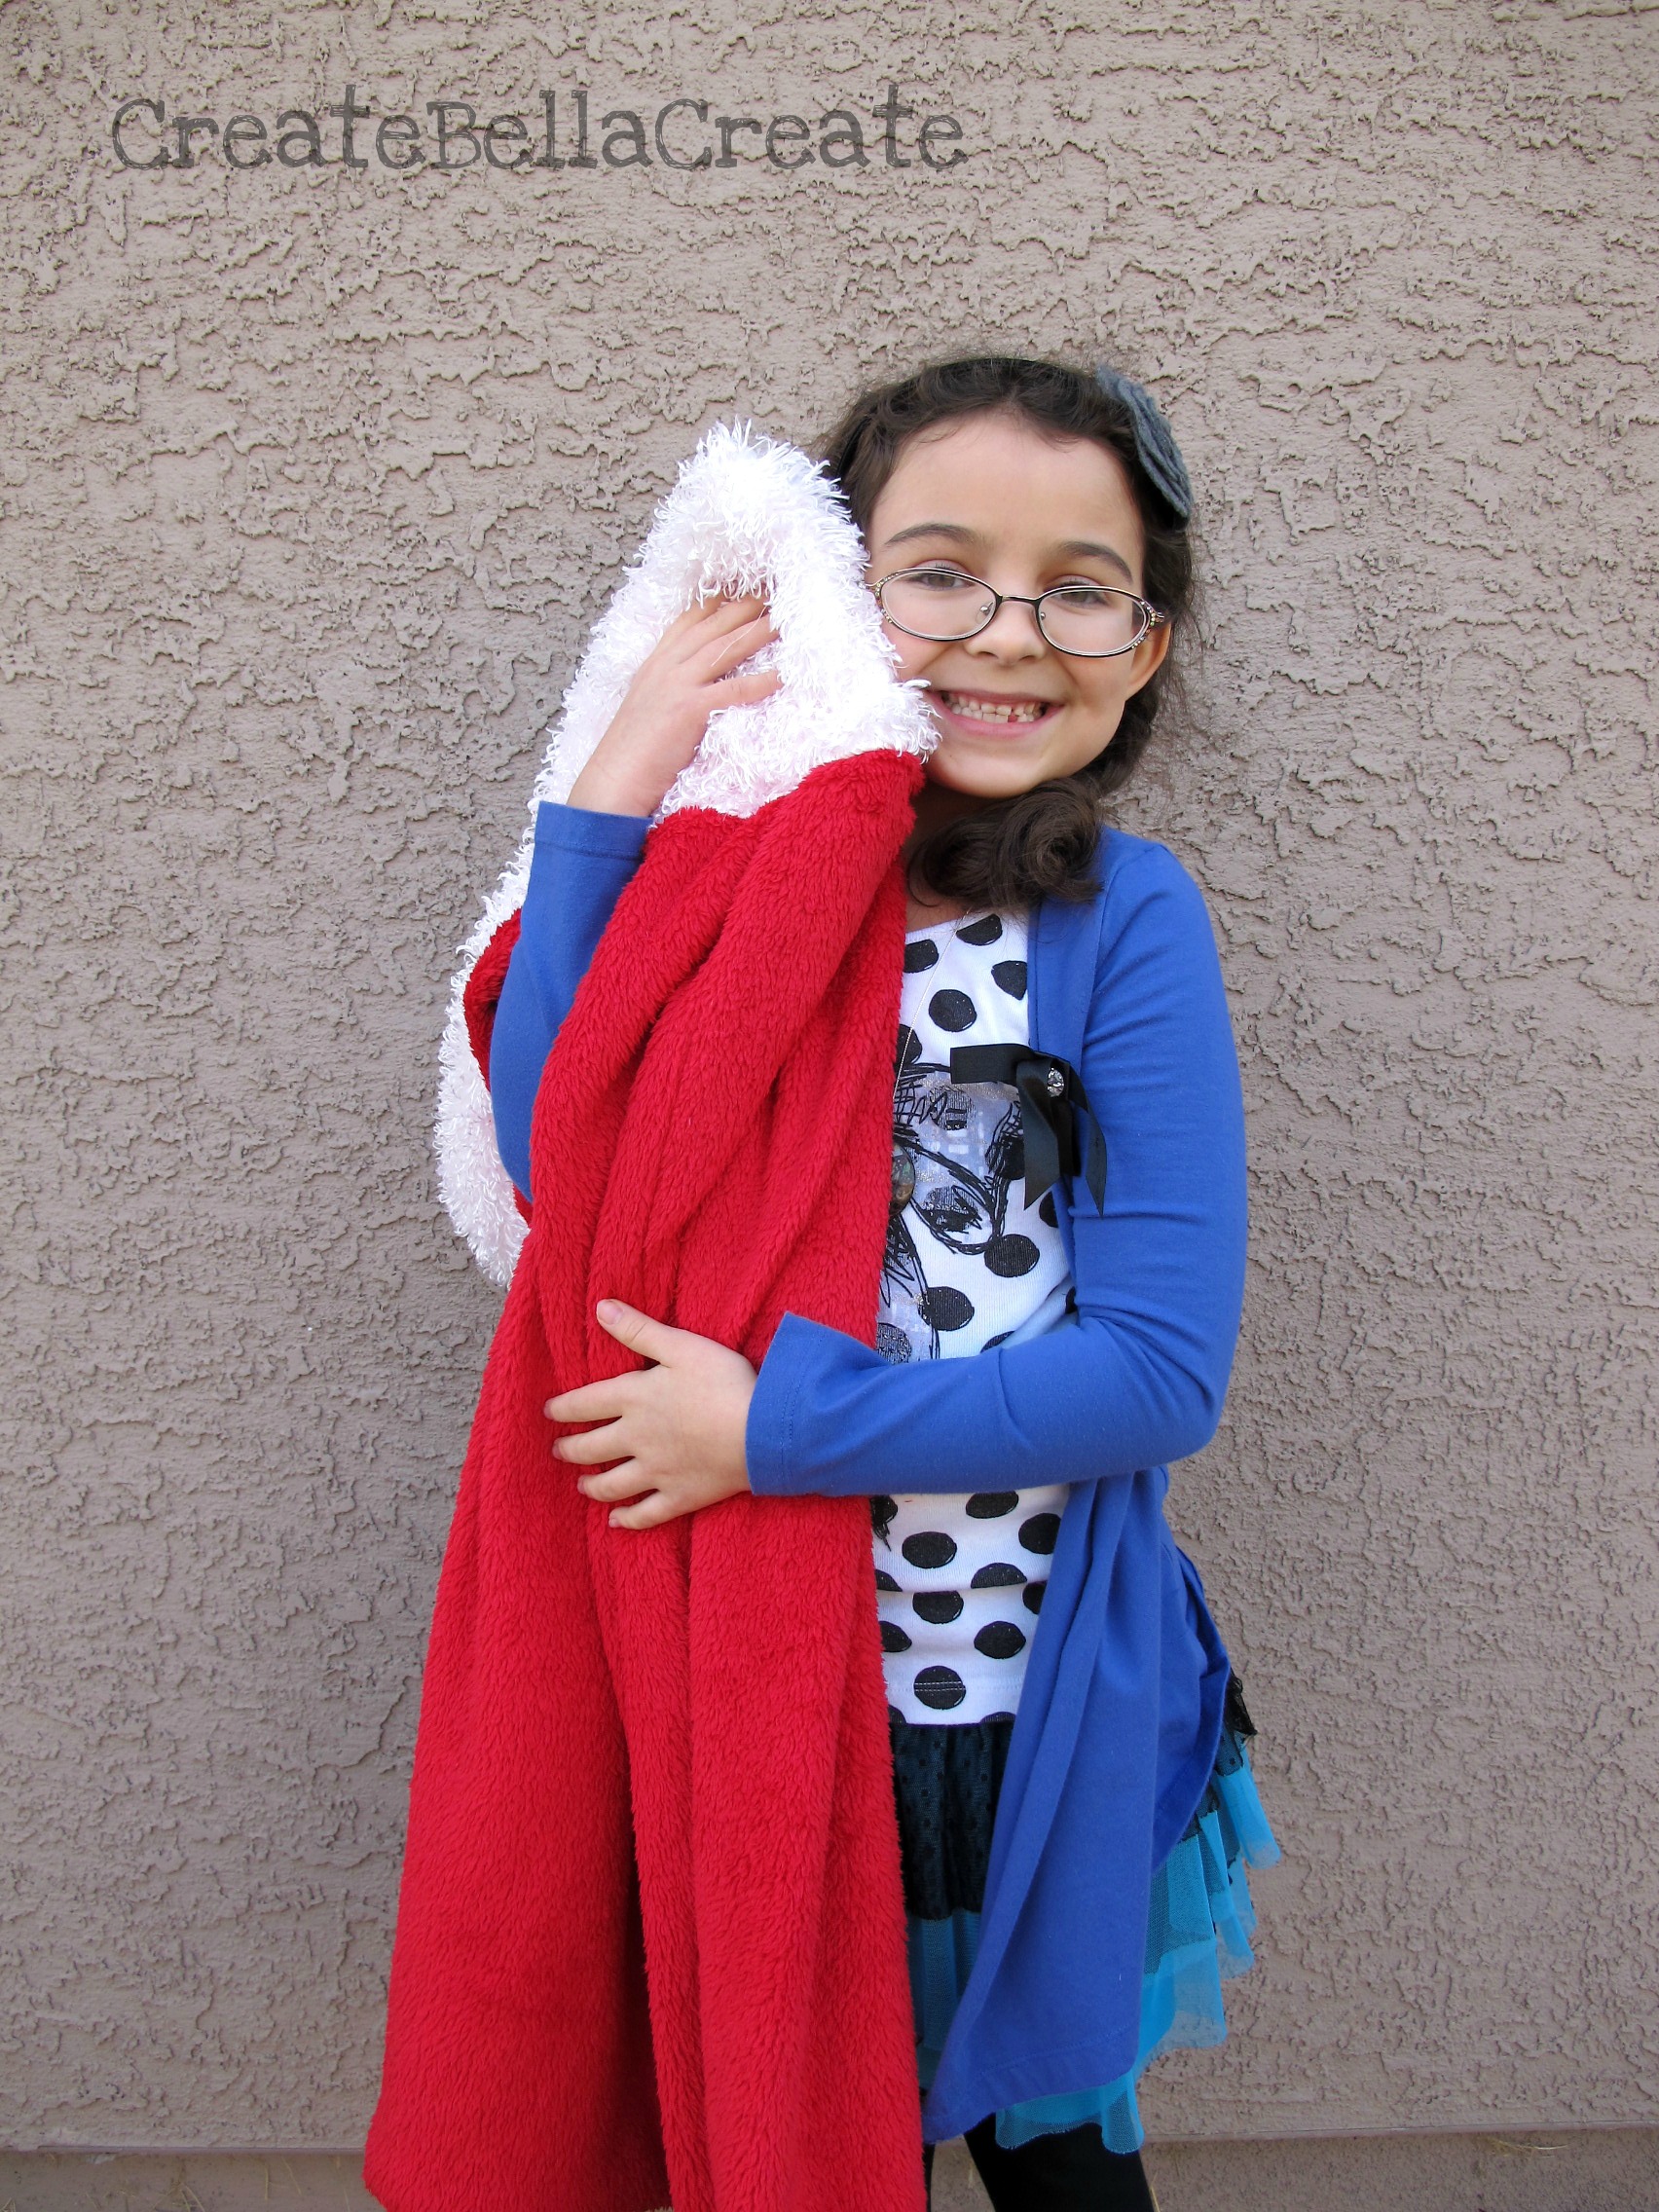
This year we are starting a new tradition, using a Santa Sack as our holder for our daughter's Christmas Gifts.
Victoria helped me sew this sack up....we made it extra big because she thought it would be super funny if she could fit inside it lol
All you have to do is sew a sack like you would a pillow case...its really easy to whip up. :)
I am planning on making a girly girl fun one for birthday gifts too.  I am hoping in starting this tradition with her that she will share it will her children one day.
I don't want to go all eco on everyone on why we do what we do with not wrapping ....long story short:
We don't feel comfortable with how much garbage is accumulated on Christmas with all the present opening and would rather not take part in that.  This Santa Sack is perfect because it allows for some fun and festiveness all with keeping our eco values in mind.  :)
My cute little Christmas helper....or as she calls it, my Christmas elf lol :)
If you are a good sewer you could totally do this in under an hour...for someone like me who is just okay it took me a couple of hours but that is probably because of all the giggle parties Victoria and I were having and because I can't bend over my sewing machine too long because of my back.
Hoping to inspire at least one person to make one of these for next year.
We can change the world and make a difference one person at a time.
Because that person can inspire someone ...and so on and so on.
A chain of infections goodness!
:)